We had our second game in our 29, Let's Go campaign this past Saturday. In our first game, I (the Germans) got trounced and I started this game with -1 on my Morale, as well as missing 8 riflemen from my platoon. It seemed like I was in big trouble already, as the American force is always at full strength in each game. Fortunately between game one and two, Richard Clarke put out Talking Tactics, a primer on WWII platoon level tactics as they relate to Chain of Command. This is an excellent read and what came across to me is that as a defender with a weakened force, I had to play very conservatively.
So we started our game. I finally had got my hedge rows done, my bocage pieces made it somewhat difficult to play the last game as they blocked LOS which is not the case in this campaign. The scenario is #4 from the book. Mike threw a Morale of 11 and I threw a Morale of 9, adjusted down to 8 as I had started to lose the confidence of my men as we were routed in the last game.
Mike had 19 supports which I believe he spent on a Sherman, a HMG team, a Sniper, and a 81mm Mortar. I went defensive and purchased 4 barbwire's, 1 team entrenchment and a 8cm Mortar. So let's go to the photos. I did start the game with 2 CoC dice, as well as two hidden Marder's on my left flank. Unfortunately they can only be used against American armour.
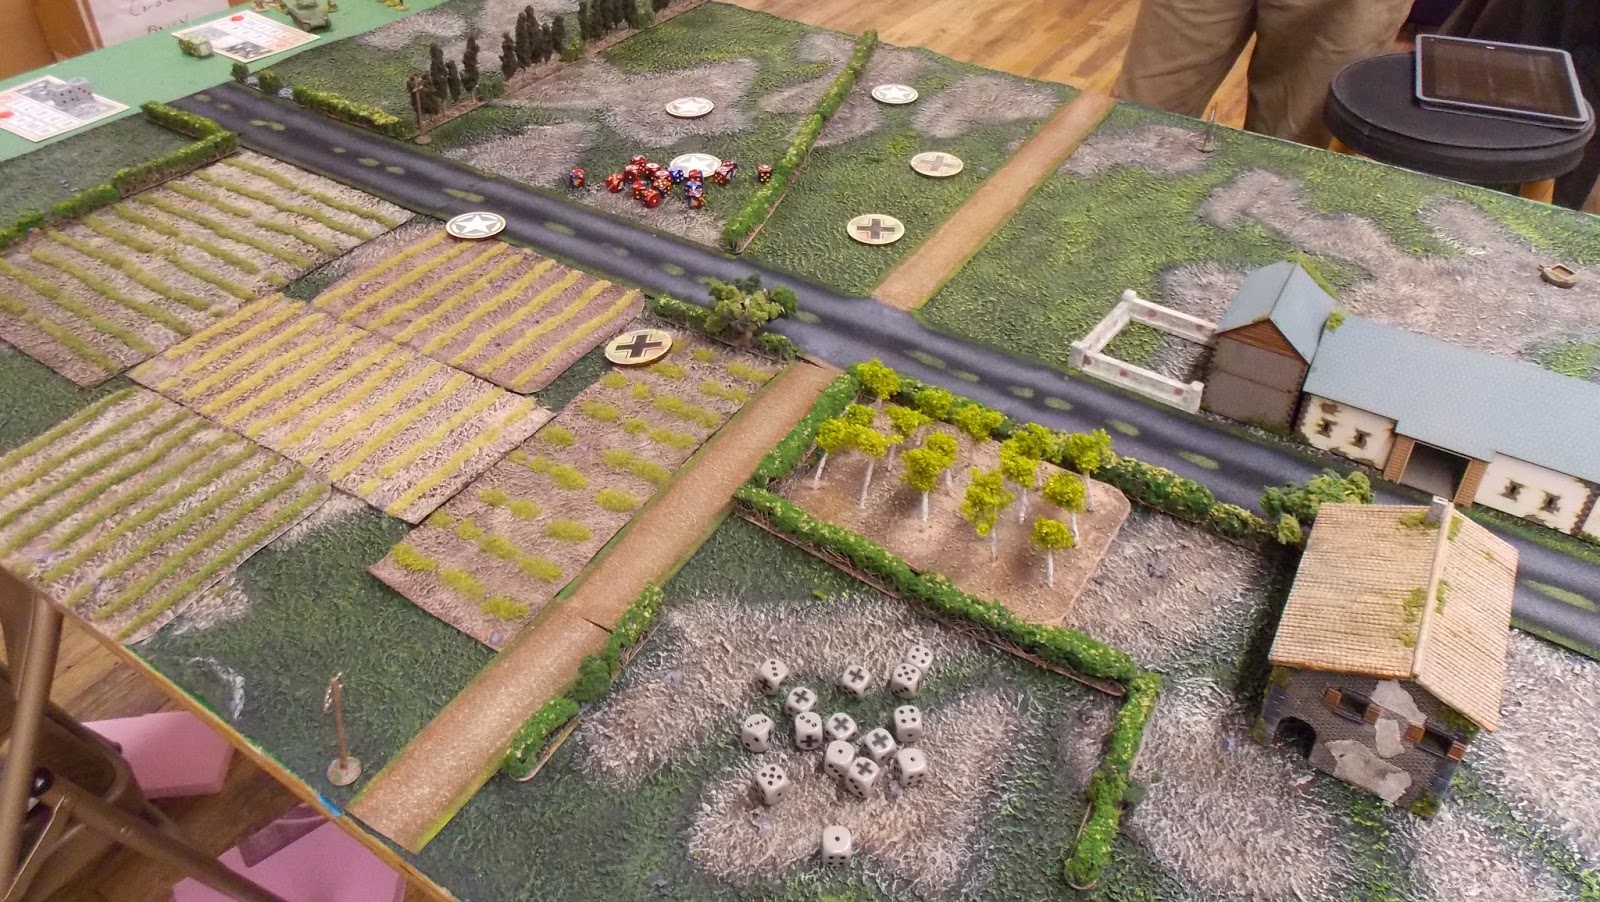 |
| Shows the final position of the patrol markers (I had 3 and Mike had 4), Mike clearly was keen to go down my right flank. But of course cover always comes into play. |
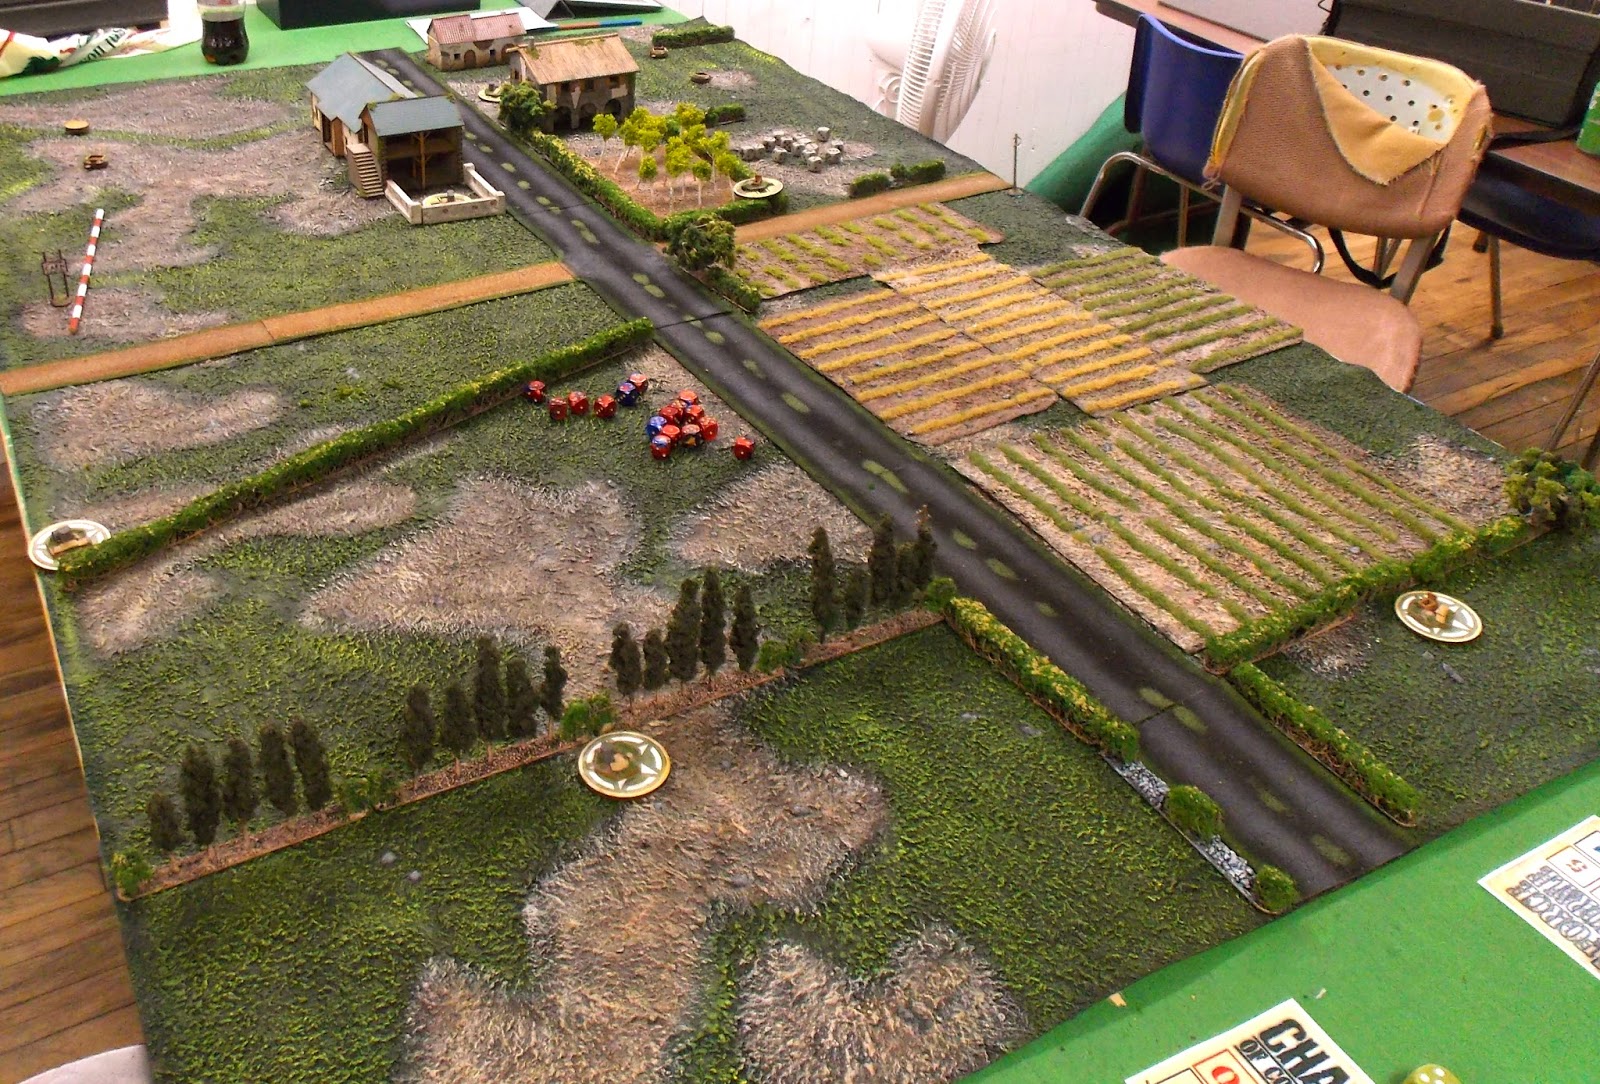 |
| The final position of the JOP's looking from the American advance. Bit difficult to see the German JOP's, but there is one inside the fenced enclosure attached to the house on the left, one just to the right of the orchard and one between the houses on the right. To win the game Mike had to capture this JOP. I was quite happy with the positions as it gave me a nice inverted triangle of JOP's, each within close range of the other. |
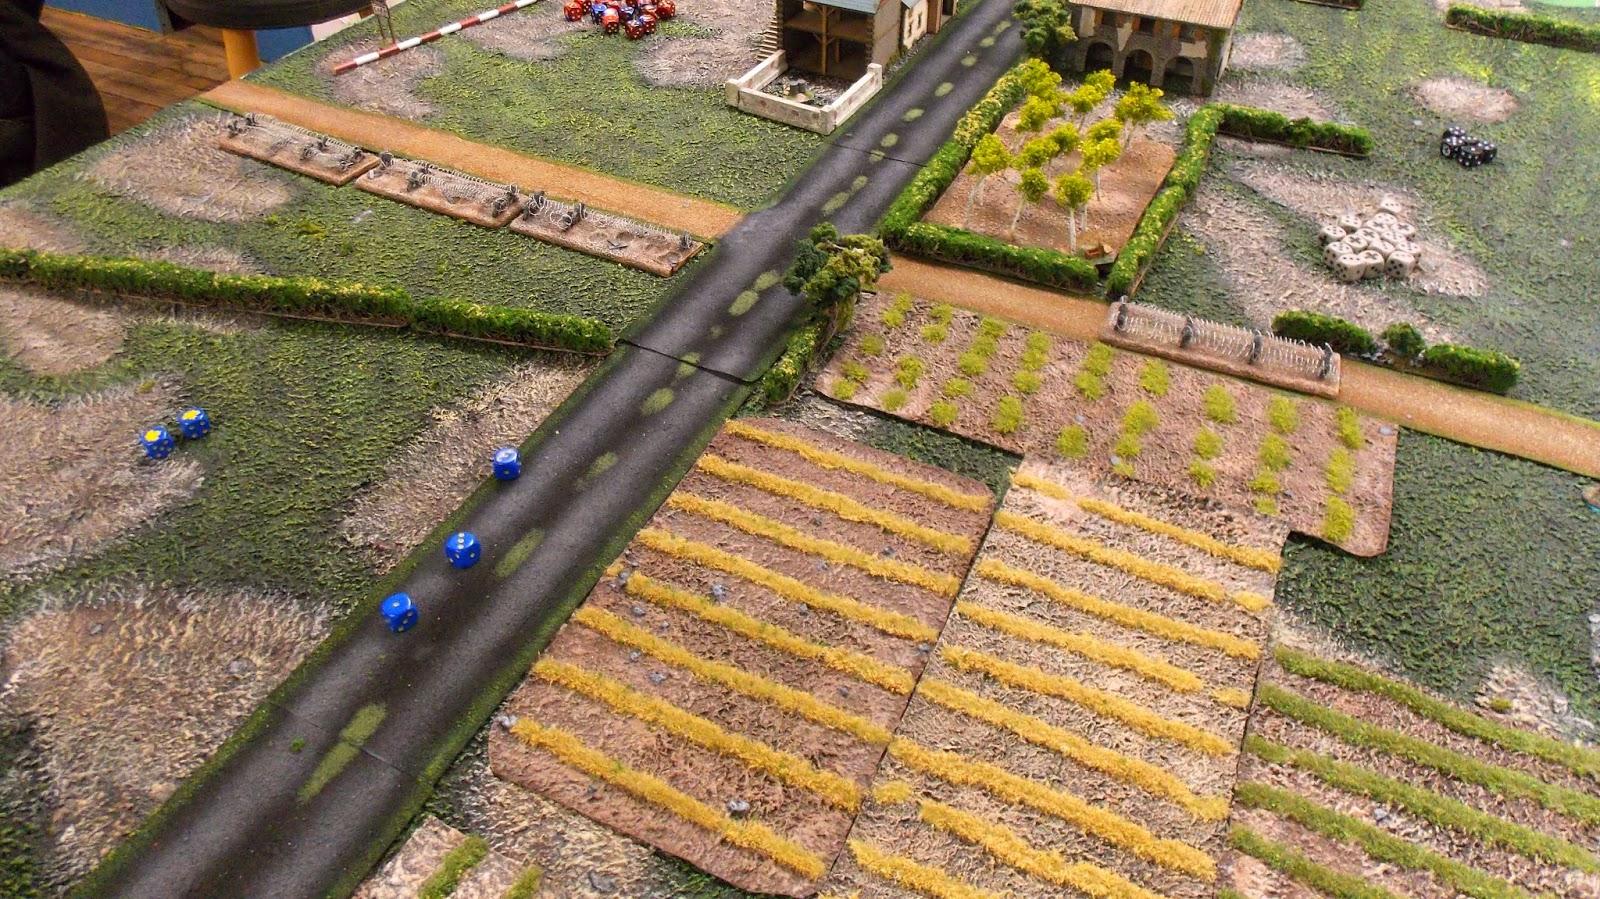 |
| I placed my barbwire defenses just beyond the dirt road. I am not sure if this was the right choice as it allowed the Americans to advance up to close range of my planned defensive positions. |
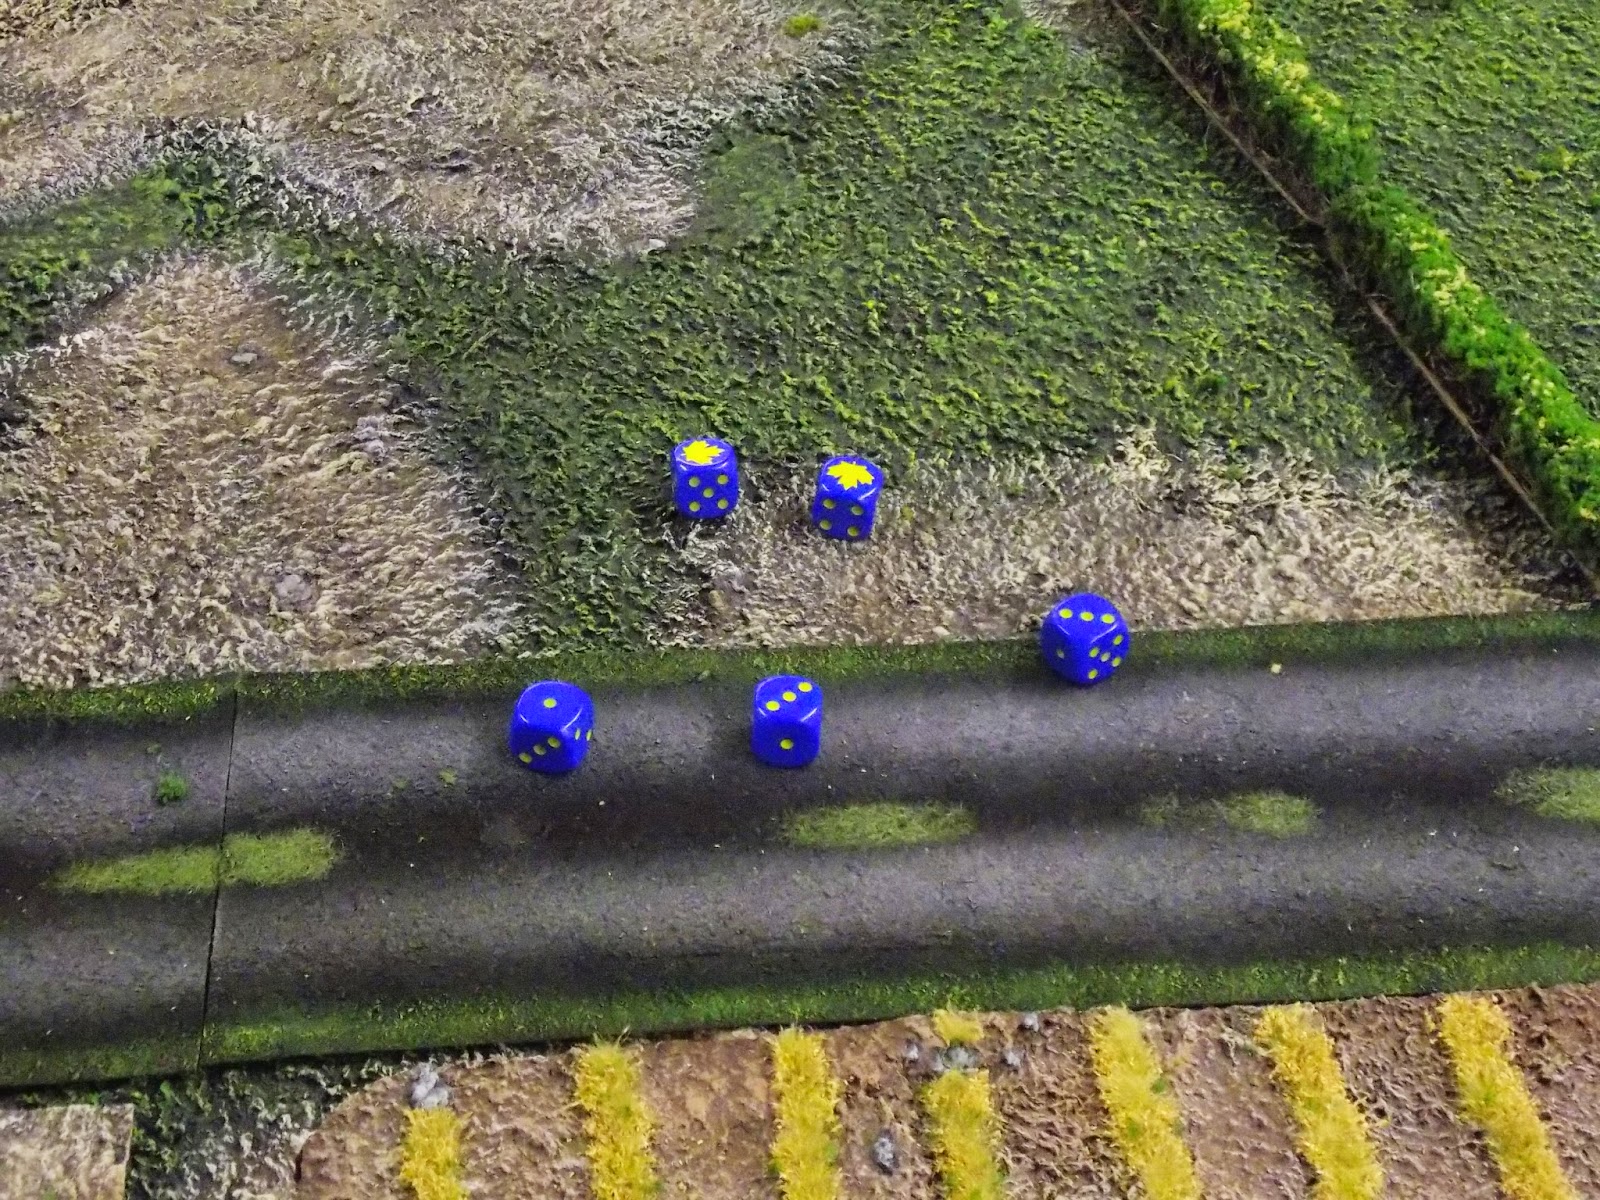 |
| Oh No! Mike's first roll is a double 6 with two 3's and a 1, really the best throw imaginable at the start of a game. |
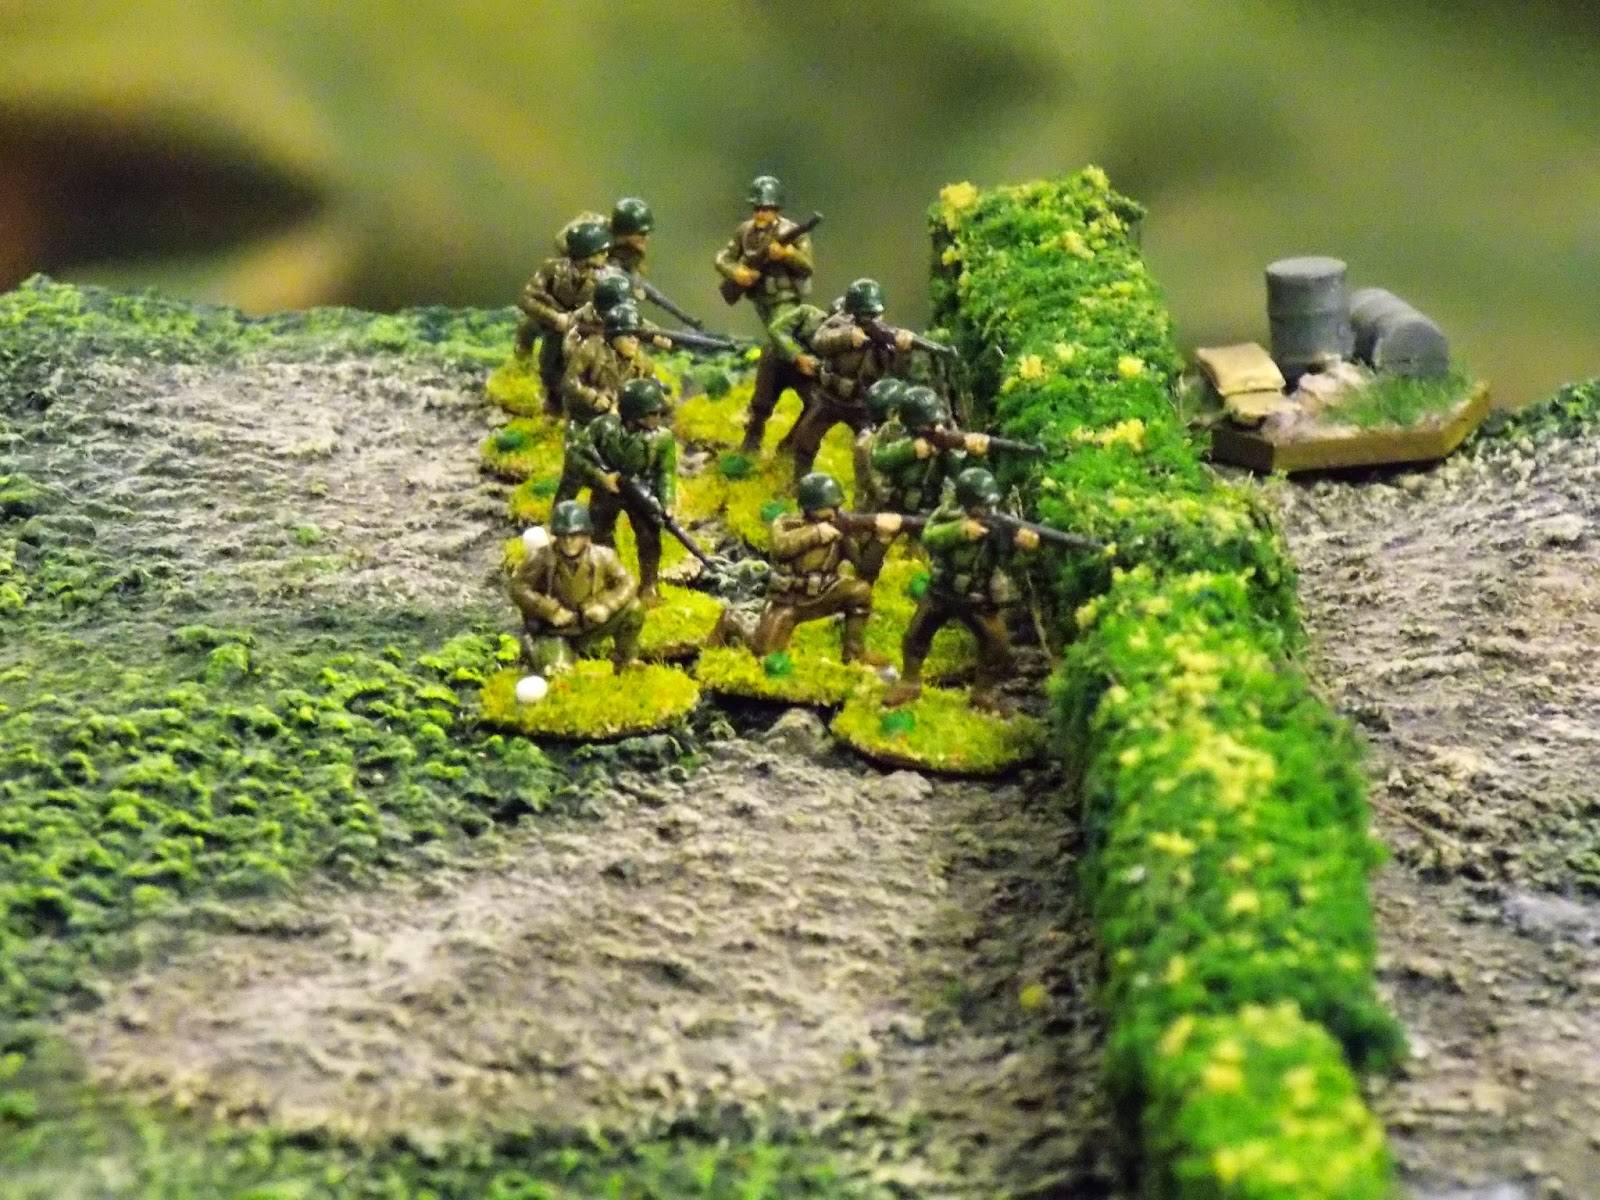 |
| Mike's PSC Americans, they came out looking great. This was the start of Mike's aggressive advance on my right flank |
 |
| Mike threw all his troops in early, with a squad starting to advance on my left flank through the crop fields, another at the edge of the orchard on my right flank. He placed his HMG team with his first squad as pictured above. A Sherman appeared in Mike's next phase. The American FO was also placed in the hedges by the fields. |
 |
| Although difficult to see, I have a LMG team with a JL and a FO on the 2nd floor. So essentially I had one team and a FO on the table while there were 3 full American infantry squads, a HMG team, a FO as well a Sherman. |
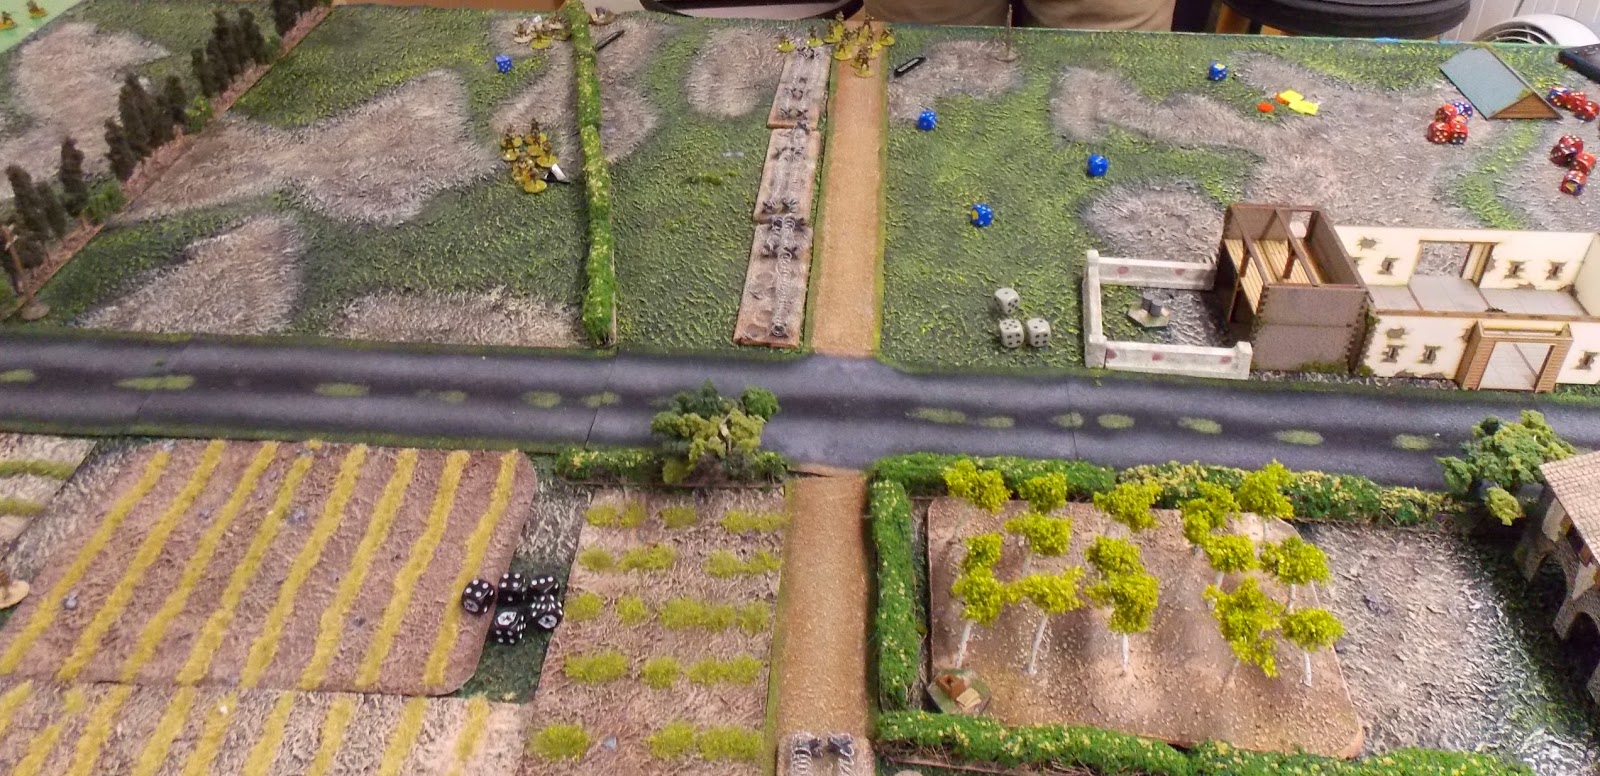 |
| As usual when the action heated up, I forgot to take pictures. As you can see my LMG team has evacuated the barn and are fleeing back to regroup with the help of my SL. They lost 2 of their 4 men and their JL was wounded. The FO escaped unscathed, but was unable to call in the Mortars. The LMG team did chew up the US squad on their right flank so they were quite successful. |
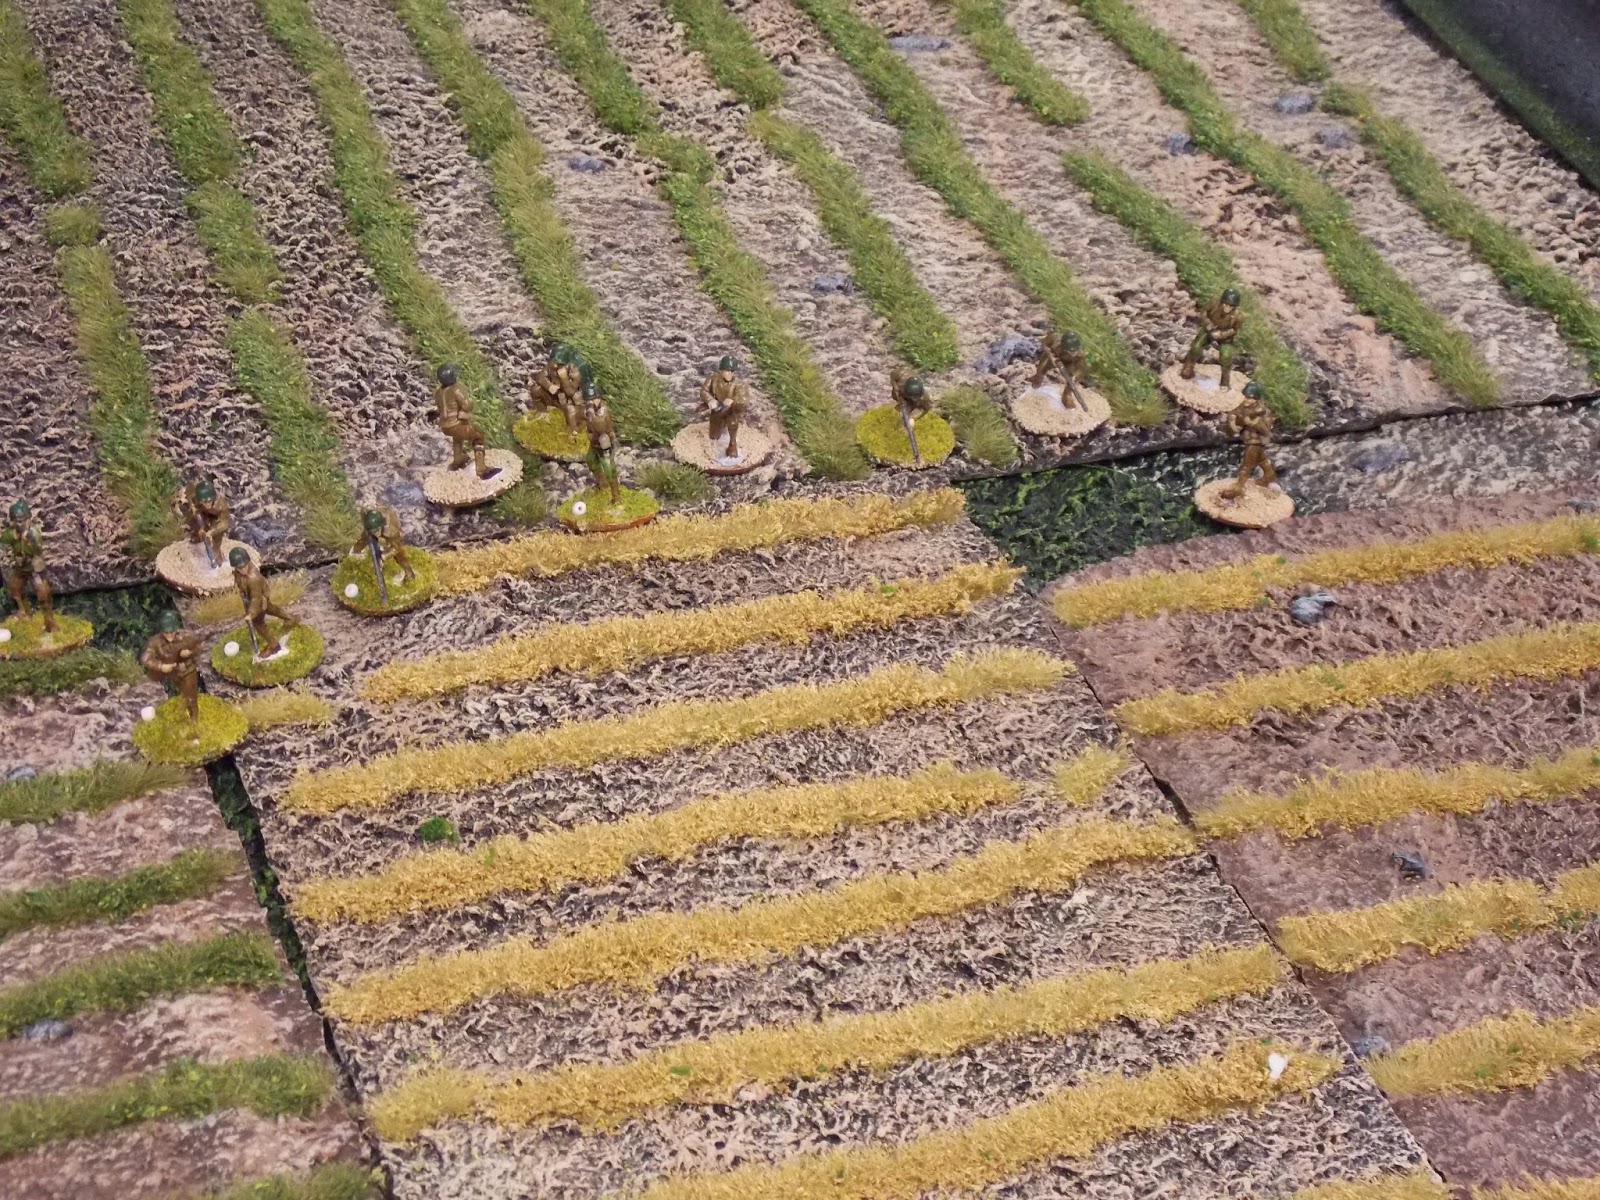 |
| The US squad advances through the fields, I hold off deploying until they are in close range. My Panzerschreck team were able to take out the Sherman. My Morale was holding while the American Morale was plummeting. |
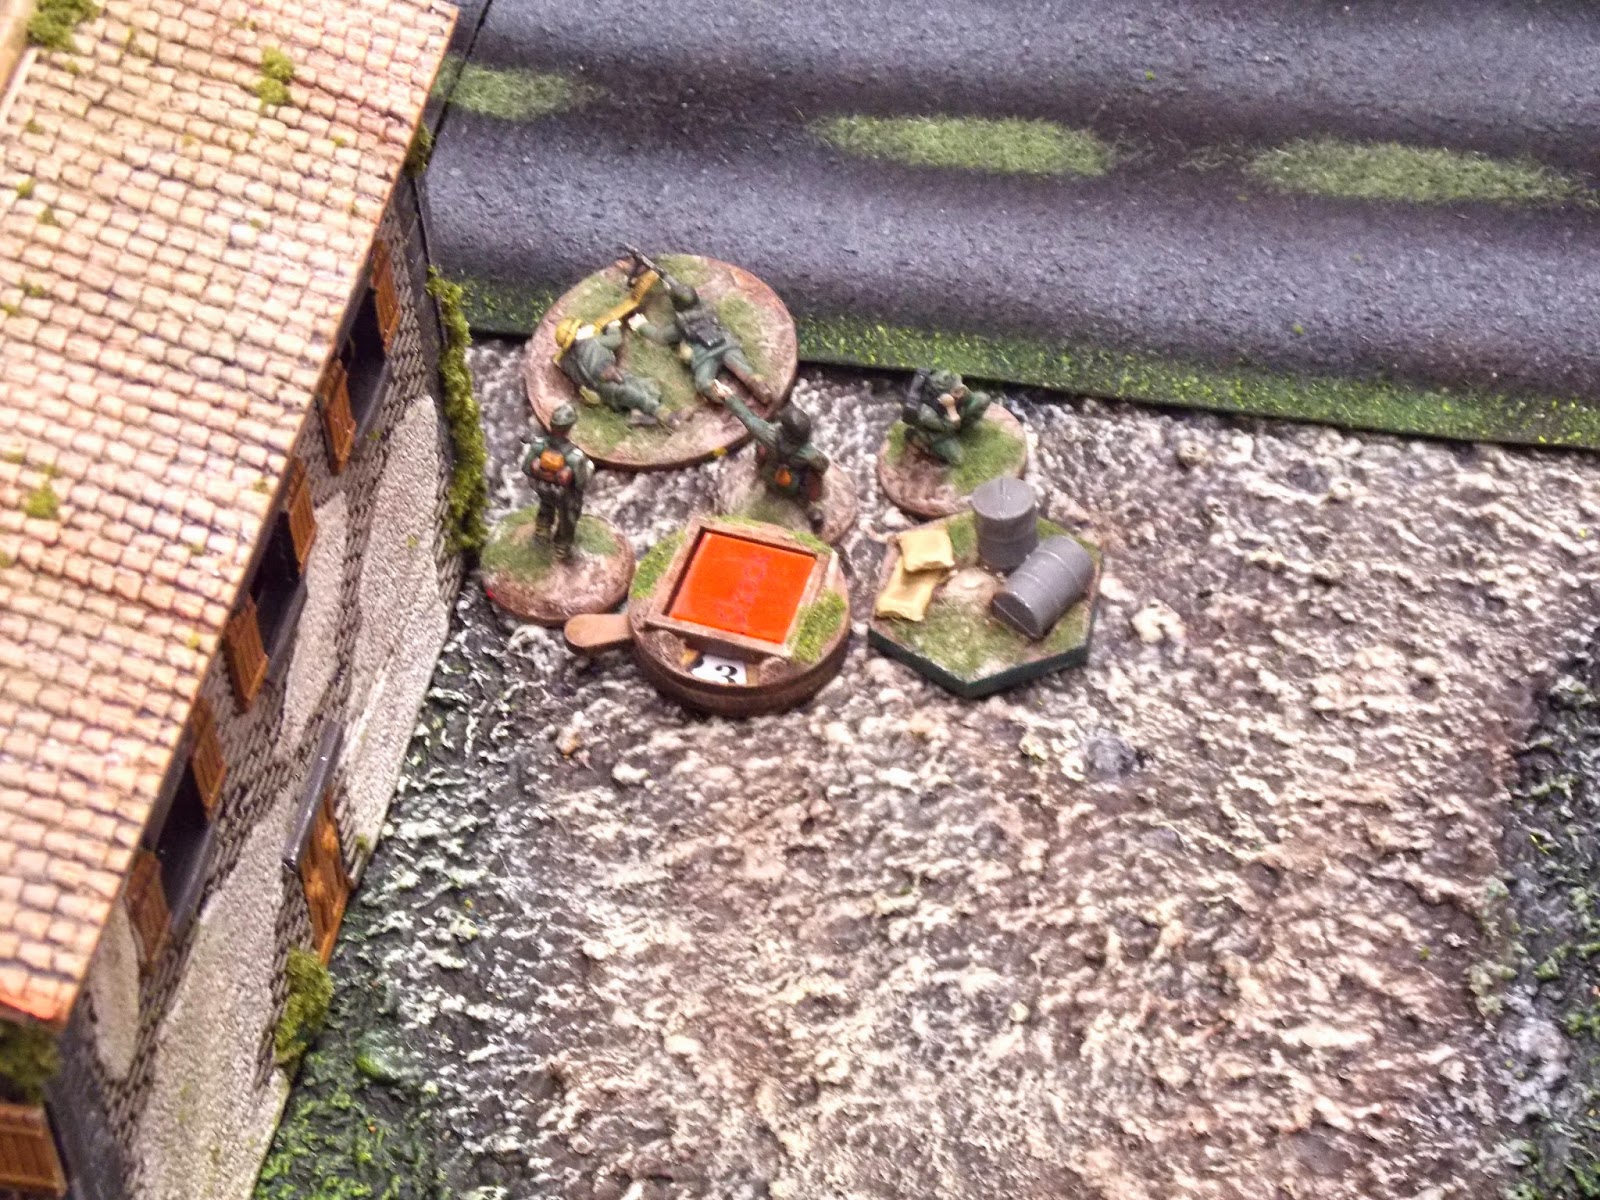 |
| The heavily shocked LMG team, with their JL, SL and FO all shielding behind the building. The FO now has a very tight LOS up the road and is still attempting to call in some mortars. |
 |
| Last photo, I am afraid, by now both American and German mortars are bombarding the area. Fortunately German aiming was quite a bit more accurate then the Americans (ie I was lucky and threw a very lucky bombardment without an aiming shot). There was quite a bit more action, the American squad in the foreground is just about in close range and I dump my only full squad behind the entrenchments and send a nice 17D6 blast. I also have another squad behind the stone wall chewing up the squads on my right flank. The American's morale falls to 0 and they rout. |
So Although I had a nice victory, I have lost 6 men and am starting the next game with a very depleted platoon with only 1 rifle team, and 3 LMG teams. My only plus is that I get an extra minefield, barbed wire or entrenchment aside from my 9 supports. The Americans are able to call up the cavalry and now have 25 supports, I believe it very unlikely that I will be counter attacking! I do have Colonel Goode nervous though.
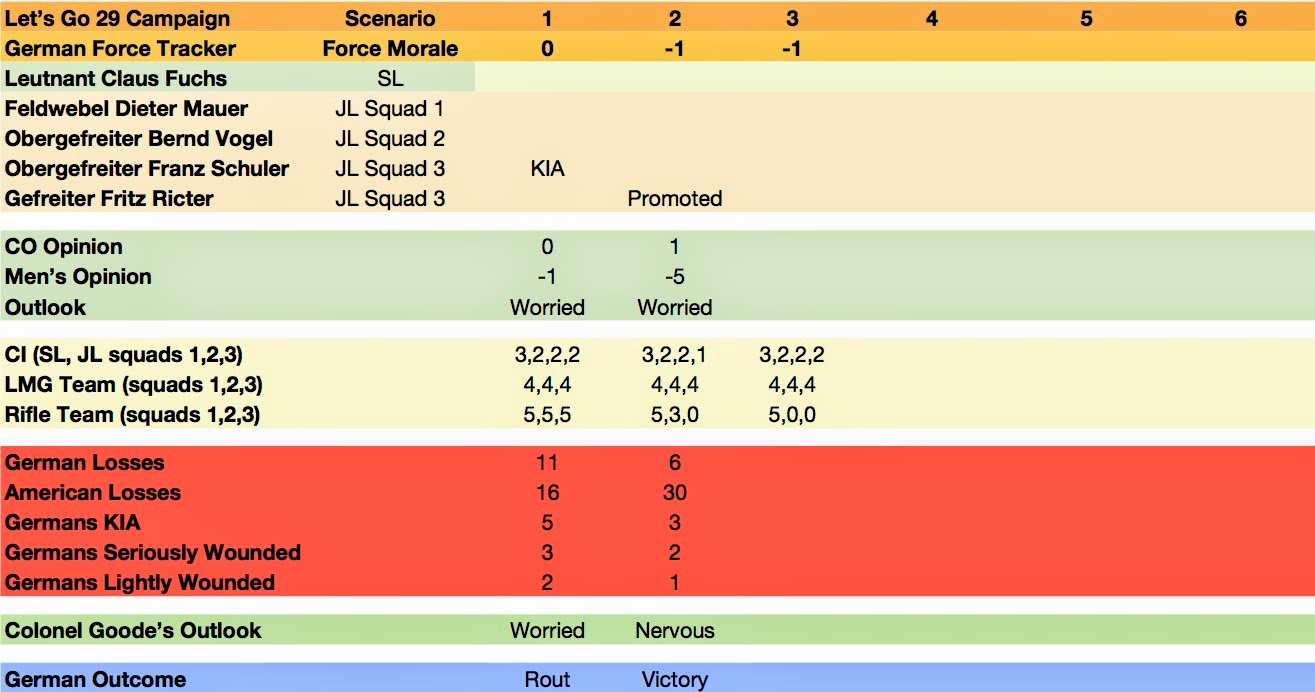 |
| I made some errors in my last post re the German's starting morale, which I have corrected here. |


Nice batrep indeed
ReplyDeleteWe are in the middle of the Villers Bocage campaign but the next one will be this!!!
yes i read your report yesterday, i love your mat
DeleteNice! What scale is this?
ReplyDelete20 mm, thanks
Deletethanks adam,
ReplyDeleteGreat report John!
ReplyDeleteThanks Ray.
DeleteJohn
Not my era, but this is a great AAR with a nice looking battlefield
ReplyDeleteRegards
Rafa
Thank you Rafa, it is my favourite ruleset.
DeleteNot my era either, but still an enjoyable report. These assorted linked campaigns (Dux Bellorum, Longstreet, and this) have me thinking of tracking two opposing officers through the Revolutionary and Napoleonic Wars, one French of course, and the other Austrian... or perhaps an Allied officer the nationality of whose troops vary by the year ( such as Austrian 1796, 17897, Turks/Mamelukes 1798, Surovov's Russians 1799, Austrians 1800, Austrians/Russians 1805, Prussians 18067, Russians 1807, Spanish 1808, Austrians 1809 adding Rhinebund allies to French, Peninsula vs British/Portuguese 1810, 1811, Russians 1812, Prussians 1813, everybody 1814, British/Prussians 1815) to keep things interesting. Actually a Russian officer;s career could be interesting with fighting Turks, French, (1800, 1805, 1807) Swedes (1809), Austrians 1812, French 1813-14. Hmmm!
ReplyDeleteSounds interesting Peter, I will look forward to seeing what you make of it.
DeleteJohn
Nice AAR with another beautiful table, love this terrain...
ReplyDeleteI am still working on the terrain, but it is coming along.
DeleteJohn
That was a fun game, but boy did my guys take a beating! It's because not all of them were painted and based, but that's been remedied..
ReplyDeleteIt is only uphill from here Mike, for the Germans.
DeleteJohn