
Another game was played in our excellent American Civil War campaign at the Hobby Bunker last Thursday night. Again the rebel forces led by Adam claimed victory. But as we all know this is a war of attrition and my noble Union forces again initiated many heroic combats and are still holding on to lead. We know it is all about strategy rather then tactics!
This time we played the Clear the Tree Line scenario. I had a good look at it before the game, it definitely seemed an advantage to be the defender here, but this was the first game in our campaign where I did not have the advantage in choice by pulling the Broken Code campaign card in the previous post game process and of course Adam won the toss and I ending up being the attacker.
| used with permission |
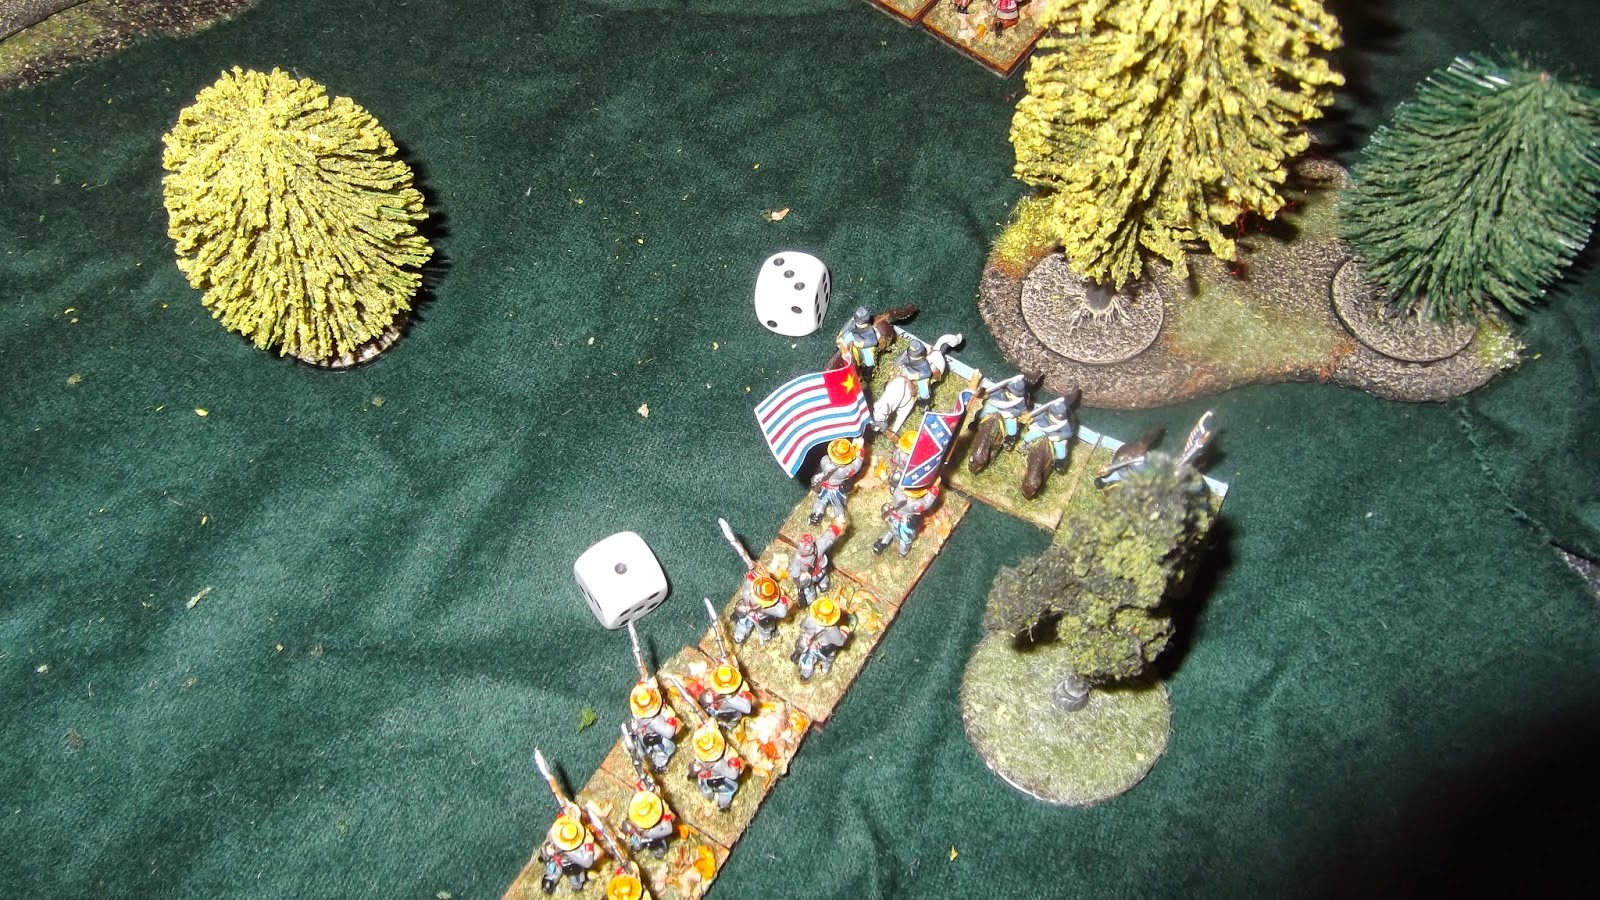
You can see the basic layout of the table as above, in this game the terrain placement phase was going to be pretty important as the attacker gets to place the objective. My initial plan was to place the objective on Rebel's left flank where there was a clearing so my attack would not be encumbered by the cover provided by the trees. I pulled a stream as my first terrain card, and placed it running vertically through the Confederate set up area, thus forcing the bulk of the Confederate forces to set up to their right flank thus making them expend valuable cards to cross it to protect the objective. Well what do they say about the best laid plans, Adam promptly laid down a ford across the stream. So we continued to lay the terrain mostly to the left Confederate flank and of course I then decided to of course to change my plan and place the objective on the Confederate right flank!
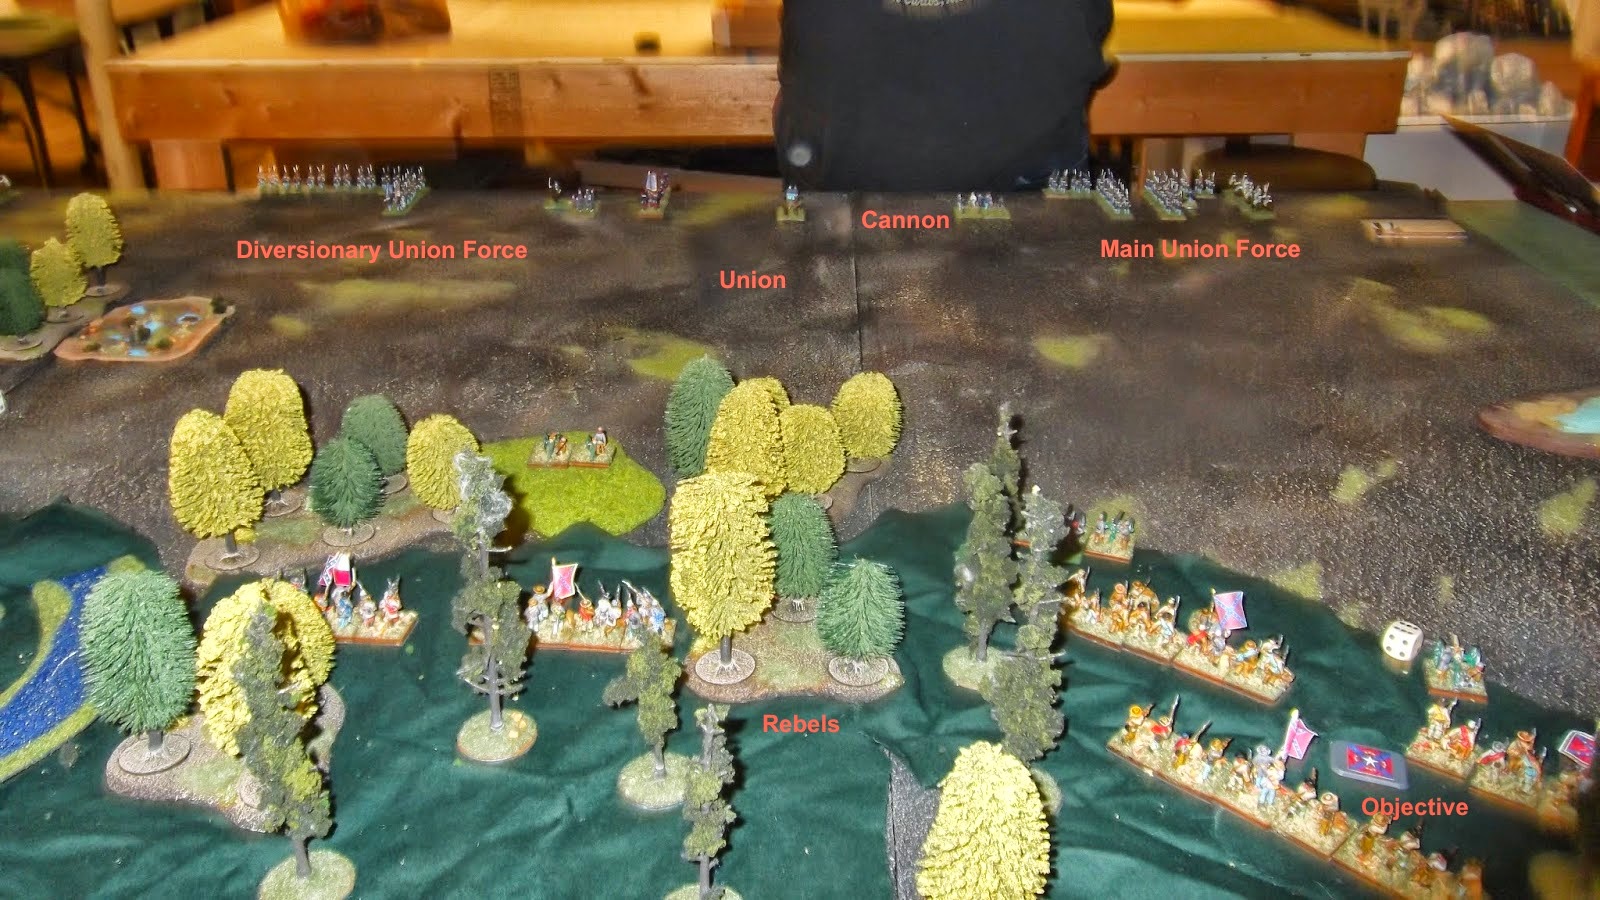
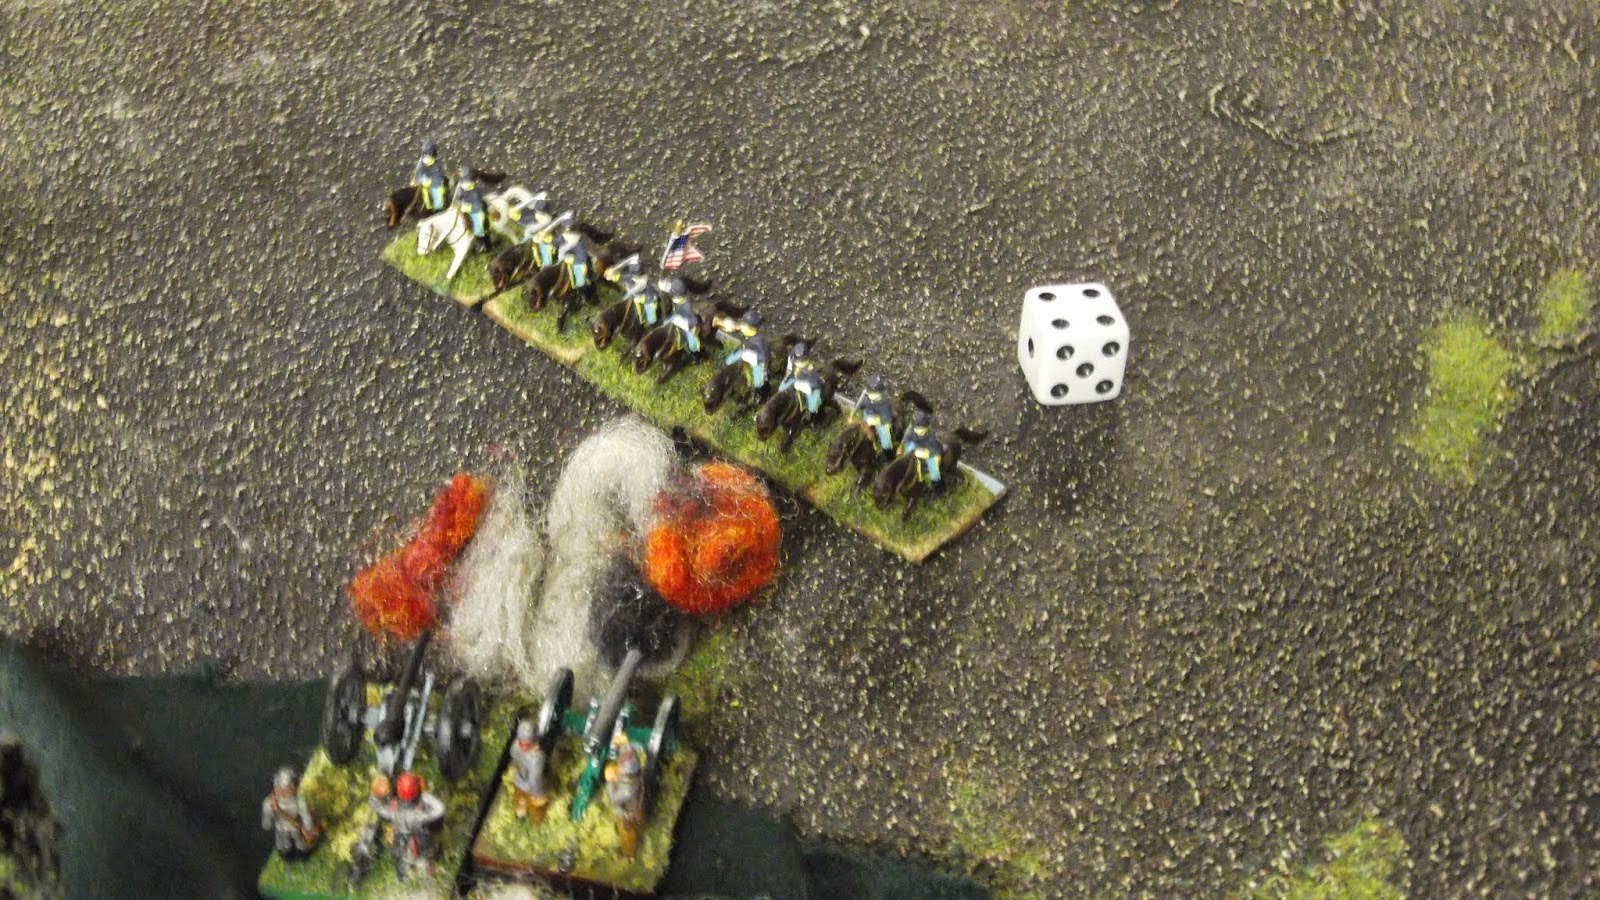
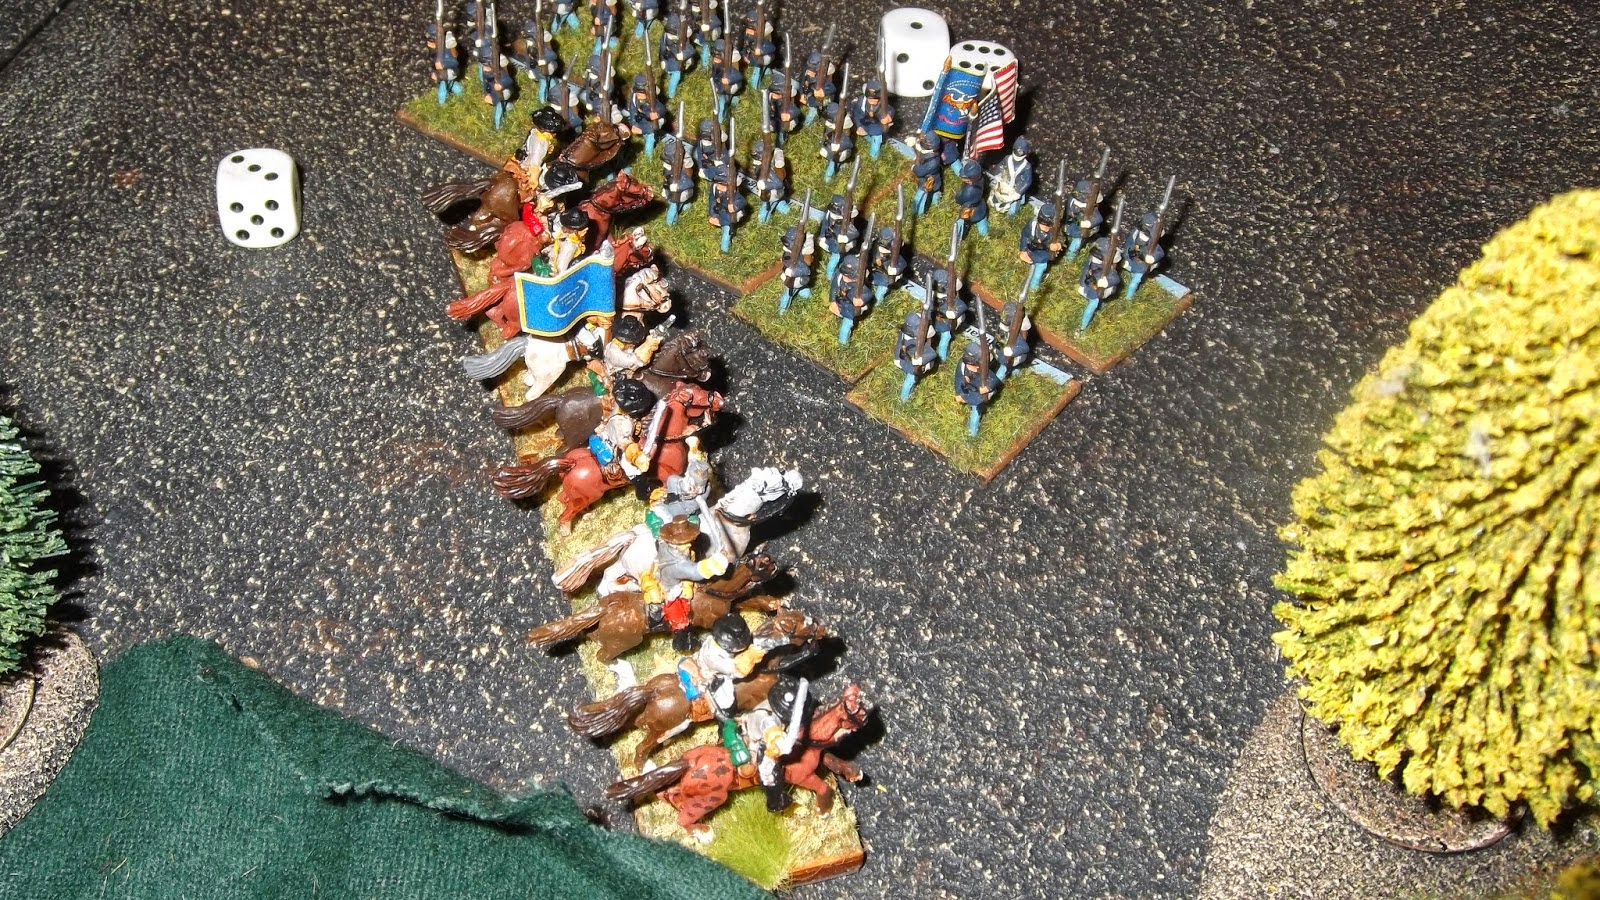
I set up first and as you can see from above the objective was very well protected. In previous battles the rebel cavalry had been used to great advantage, and in this battle I added a large unit of Union cavalry and I planned to use them. The Union forces advanced rapidly to my right Rebel flank and the objective but of course my blue riders get decimated by the Rebel guns.
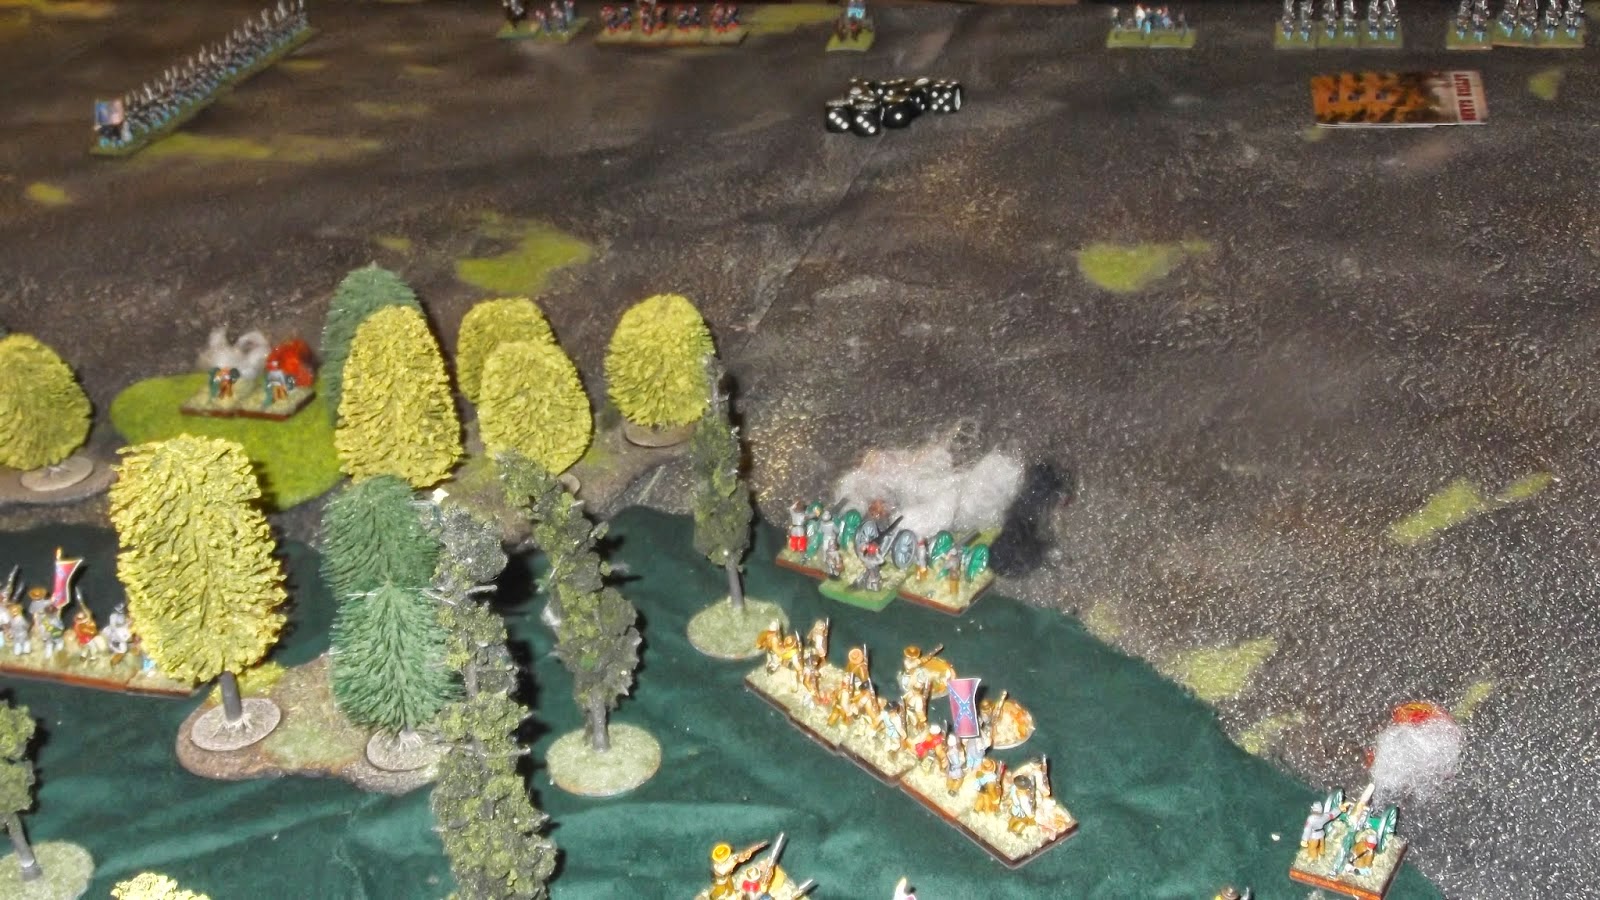
At this point I felt my initial plan was going to fail, I had just lost too many troops to the guns, but I ordered the troops to get stuck in and order a massive frontal assault all along the Rebel line. Up until then the dice gods had been against me, but I felt my luck was about to change. I got rid of the White Hand of Saruman dice and pulled out the good old Westphalia dice.
Adam cleverly plays Couldn't hit an Elephant as well as the Old Rivals cards so my initial charge gets somewhat delayed and my troops get a good chewing up by rifle and grapeshot fire. But they are resolute and launch a massive engagement gaining me two Epic Points.
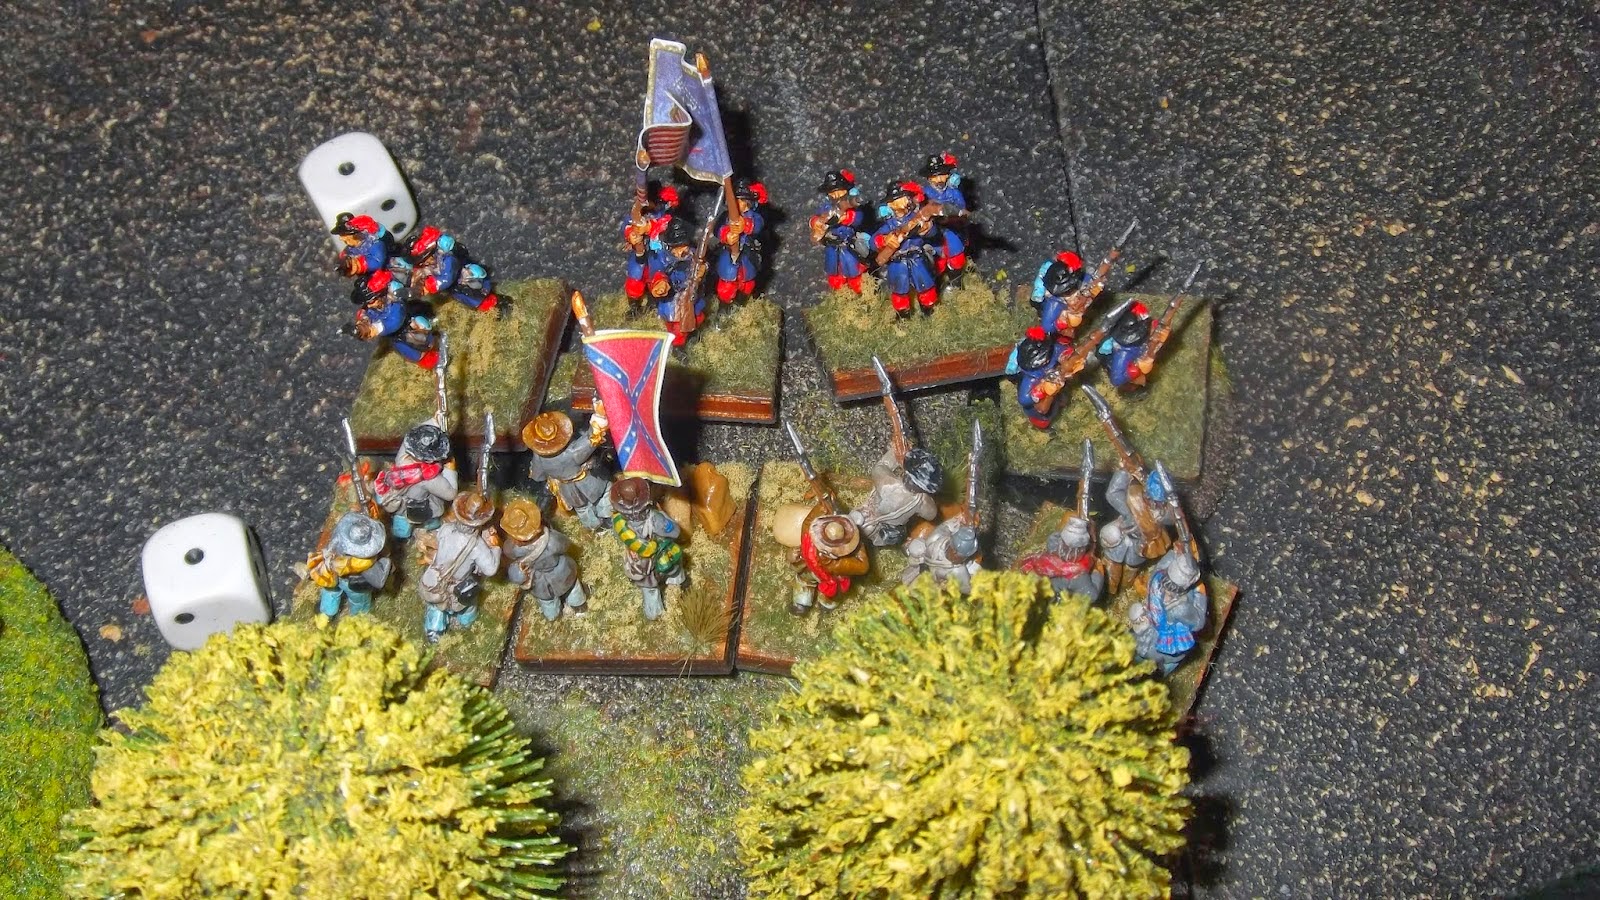
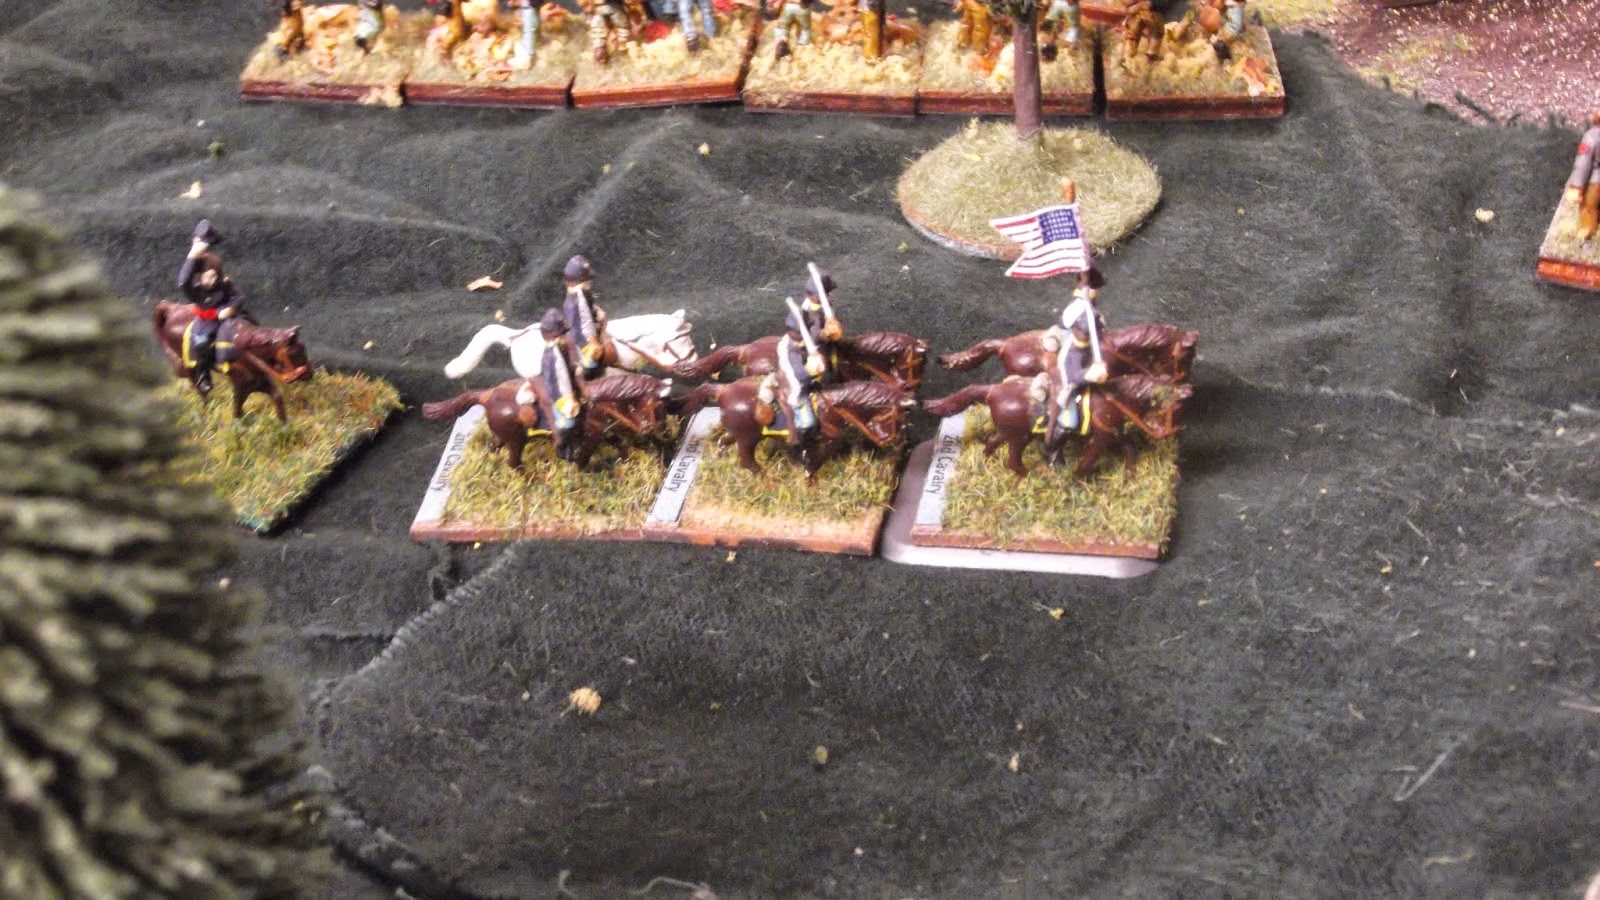
I won all combats by a decisive margin aside from one, which was a tie and at this point I was able to carry through with an advance to the objective. My clever use of the Trackless card limited Adam's response and lo and behold my much weakened 4th US Cavalry unit was able to capture the objective and gain an Epic Point.
At this point I wanted to finish the game and gain a victory. I was very close to my Shatter Point, but alas I rushed it and launched a second charge when really I should have been more patient and readjusted my lines. Adam was able to recover and charge my very tenuous position and he recaptured the objective so I lost that hard earned Epic Point. I had reached my Shatter Point and the victory was Adam's.
Well it was a great game again, Adam is a much more patient player then I, and he has now gained 3 victories in our 4 games. My impetuous style though has kept me ahead in the Campaign and lead by one point. I am going to have to be much more careful though in our upcoming games as I am burning through the troops and Adam had a relatively successful post game process and has now many veteran units, and more cavalry and guns then I going into our next battle.
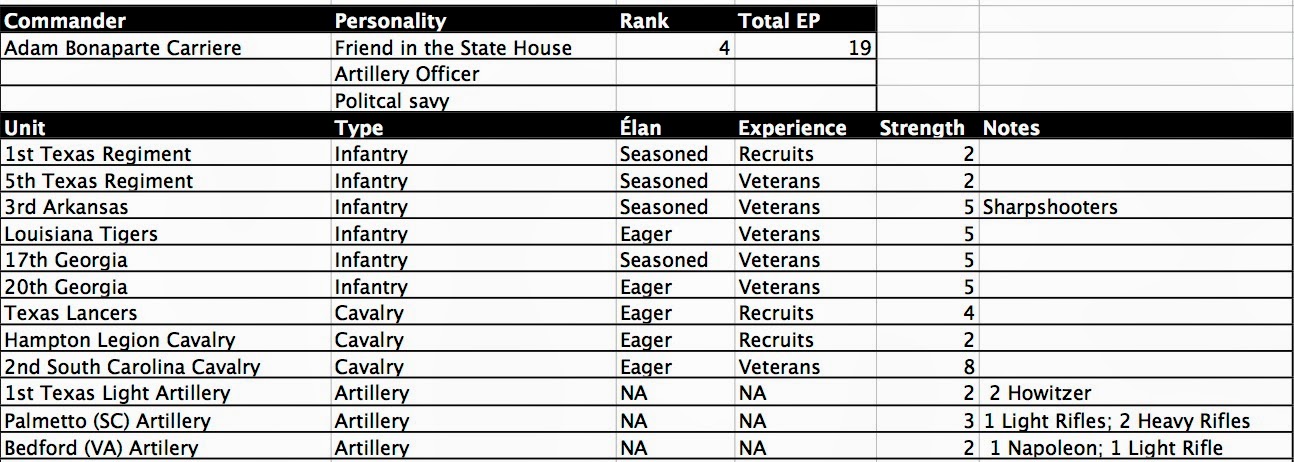 |
| Adam's Roster mid 1863 |
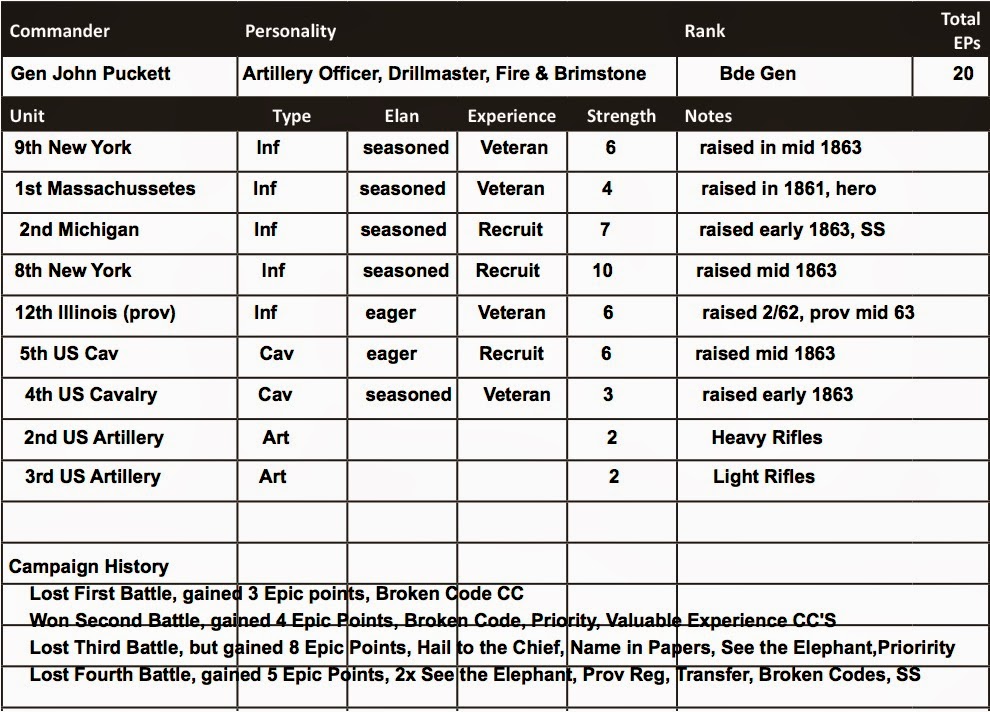 |
| John's Roster mid 1863 |
I agree, another fun report. Do have to remember it's a campaign and preserve your units where possible.There is quite a bit of cavalry on both rosters, I see!
ReplyDeleteGreat battle report - I see your confederate opponent is "rocking" a brigade that has a good bit of Hood's brigade in it it! Nice choice.
ReplyDeleteI really do need to get a campaign of Longstreet up a running.
I started with the Texas Brigade but losses in battle and greater losses in camp have warn the Texans down to nub.
ReplyDelete