24 November 2014

29, Let's Go!: Delaying Action at Arthenay

We had our second game in our 29, Let's Go campaign this past Saturday. In our first game, I (the Germans) got trounced and I started this game with -1 on my Morale, as well as missing 8 riflemen from my platoon. It seemed like I was in big trouble already, as the American force is always at full strength in each game. Fortunately between game one and two, Richard Clarke put out Talking Tactics, a primer on WWII platoon level tactics as they relate to Chain of Command. This is an excellent read and what came across to me is that as a defender with a weakened force, I had to play very conservatively.

So we started our game. I finally had got my hedge rows done, my bocage pieces made it somewhat difficult to play the last game as they blocked LOS which is not the case in this campaign. The scenario is #4 from the book. Mike threw a Morale of 11 and I threw a Morale of 9, adjusted down to 8 as I had started to lose the confidence of my men as we were routed in the last game. 

Mike had 19 supports which I believe he spent on a Sherman, a HMG team, a Sniper, and a 81mm Mortar. I went defensive and purchased 4 barbwire's, 1 team entrenchment and a 8cm Mortar. So let's go to the photos. I did start the game with 2 CoC dice, as well as two hidden Marder's on my left flank. Unfortunately they can only be used against American armour.

Shows the final position of the patrol markers (I had 3 and Mike had 4), Mike clearly was keen to go down my right flank. But of course cover always comes into play.

The final position of the JOP's looking from the American advance. Bit difficult to see the German JOP's, but there is one inside the fenced enclosure attached to the house on the left, one just to the right of the orchard and one between the houses on the right. To win the game Mike had to capture this JOP. I was quite happy with the positions as it gave me a nice inverted triangle of JOP's, each within close range of the other.

I placed my barbwire defenses just beyond the dirt road. I am not sure if this was the right choice as it allowed the Americans to advance up to close range of my planned defensive positions.

Oh No! Mike's first roll is a double 6 with two 3's and a 1, really the best throw imaginable at the start of a game.

Mike's PSC Americans, they came out looking great. This was the start of Mike's aggressive advance on my right flank 

Mike threw all his troops in early, with a squad starting to advance on my left flank through the crop fields, another at the edge of the orchard on my right flank. He placed his HMG team with his first squad as pictured above. A Sherman appeared in Mike's next phase. The American FO was also placed in the hedges by the fields.

Although difficult to see, I have a LMG team with a JL and a FO on the 2nd floor. So essentially I had one team and a FO on the table while there were 3 full American infantry squads, a HMG team, a FO as well a Sherman. 

As usual when the action heated up, I forgot to take pictures. As you can see my LMG team has evacuated the barn and are fleeing back to regroup with the help of my SL. They lost 2 of their 4 men and their JL was wounded. The FO escaped unscathed, but was unable to call in the Mortars. The LMG team did chew up the US squad on their right flank so they were quite successful.

The US squad advances through the fields, I hold off deploying until they are in close range. My Panzerschreck team were able to take out the Sherman. My Morale was holding while the American Morale was plummeting.

The heavily shocked LMG team, with their JL, SL and FO all shielding behind the building. The FO now has a very tight LOS up the road and is still attempting to call in some mortars.

Last photo, I am afraid, by now both American and German mortars are bombarding the area. Fortunately German aiming was quite a bit more accurate then the Americans (ie I was lucky and threw a very lucky bombardment without an aiming shot). There was quite a bit more action, the American squad in the foreground is just about in close range and I dump my only full squad behind the entrenchments and send a nice 17D6 blast. I also have another squad behind the stone wall chewing up the squads on my right flank. The American's morale falls to 0 and they rout.

So Although I had a nice victory, I have lost 6 men and am starting the next game with a very depleted platoon with only 1 rifle team, and 3 LMG teams. My only plus is that I get an extra minefield, barbed wire or entrenchment aside from my 9 supports. The Americans are able to call up the cavalry and now have 25 supports, I believe it very unlikely that I will be counter attacking! I do have Colonel Goode nervous though.
I made some errors in my last post re the German's starting morale, which I have corrected here.

14 November 2014

Chronica Iohannes: Capture of Cadfael


We played our 4th game last night in our Dux campaign, the border raid scenario. The game started off very badly for me with my entry point within 12" of the Saxon entry point. The cards and the dice were initially on my side and I was able to move my fleeing noble Cadfael while destroying a unit of Saxon warriors dropping their morale to 3 in the first turn. Unfortunately then the dice failed me in movement while they favoured the Saxon's pursuit of Cadfael. About midway up the board the Saxon Lord Cuthbert with his champion was able to overwhelm the fleeing Cadfael and capture him. We unfortunately made a major error here as we misinterpreted the rules and in truth Cadfael was not overwhelmed, but so it goes. By then I had elected to withdraw and I withdrew in good order with more retreat cards then Adam had pursuit cards. Unfortunately my losses were moderate (13 men) to Adam's light losses (8 men). This of course allows him to attack in one month when I am still trying to raise troops, so I have had to not contest his next raid. He now is in a position to shower his men with loot and become a Warlord! Let the Battle for Catreath begin.

12 November 2014

Chronica Iohannes: Raid on the Village of Malton


Bit late with this post, but I needed to get it out before the 4th game of our campaign which we are having tomorrow evening. You can see an AAR of this battle on the Fencing Frog blog.

This was our best game to date, although we misinterpreted the scenario in such away that it may of cost Adam the game. The ending however was climatic and the Britons won a hard fought victory at the last moment. With the money gained in this raid, I have purchased a Watchtower which will lessen an advantage that the Saxons have had, as my troops will now arrive one turn earlier then set out in the rules.

09 November 2014

SAGA at the Hobby Bunker

Boston Trained Bands had a SAGA day at the Hobby Bunker yesterday November 9th, it was very busy as there was some sort of Cancer Charity event with Warmachine Hoards (I have no idea what this is, but it seemed very popular with at least 8 tables going). There was also 3 tables of X-Wing and a SYW game in 15 mm which looked very attractive.

We were able to squeeze out 3 SAGA players and we did have a lot interest as we were playing. The Hobby Bunker had lots of The Crescent & Cross stuff there, but no basic SAGA rulebooks which was unfortunate. I did see some purchases though of the Gripping Beast boxes of their plastic Dark Ages figures. Hopefully some interest was generated.

I had not really played SAGA for a couple of years (my gaming partner Nico disappeared about 18 months ago after the birth of his beau fils, but the good news is that he has just arisen again!). I had forgotten what a fun game it is and of course a lot has happened in two years with the publication of the Crescent and the Cross.

We played two games of the Warlord scenario, using Vikings and Anglo-Saxons warbands and had a lot of fun. The rules are easily remembered and we did not mash them too much. I took a few photos so I thought I would present them.
Saxon Levy

The Clash of Warlords scenario has one group of attacking Hearthguard being placed behind the lines of the defending warband. This caused a lot of consternation to me as I had not read through the scenario before I set up.

Anglo Saxon warriors (I know they look like Romano-Brits!)

The Viking Warlord heading off with a large unit of Hearthguard.

Where are the Hearthguard gone? The Viking Warlord is screaming to the Saxon warriors and Levy to come and get him!

Brave fellow, he has no fear.

This is the second game, this time the Viking bowman are trying to sneak up to take the Saxons from behind.

The Anglo-Saxons have a great advantage when they can form up into 10 figure units.


We made a mistake with shooting, the levy really can not be clumped up to fire.

The Anglo-saxon warlord with a unit of warriors.

The Viking Hearthguard demolish the saxon levy.............

...................but fair less well with the Saxon warriors.

Hmm what have we got here, looks like a possible mano a mano.

Indeed it is. The Viking Warlord reaches the Anglo-Saxon warlord in 3 bounds, on contact he invokes Ullr and get to re-throw all his misses to hit. The Anglo-Saxon warlord learns the danger of being unsupported and suffers two confirmed kills and dies. 

02 November 2014

29, Let's Go! Probe at La Cambe

We finally got to start our first Chain of Command campaign using the CoC At the Sharp Edge campaign system and the first pint sized package campaign 29, Let's Go! Scenario One, the Probe at La Cambe was played yesterday at the Hobby Bunker in Malden, MA. This is an historically based campaign following the action of the 176th American Infantry Battalion as it has been ordered forward to secure the Bridge at Isigny, as a part of the day after D-Day actions, June 1944.

The real good news was that Mike, with whom I have been playing CoC, has started to paint up some Americans, they are still in the painting process, but he was able to field a full platoon with some supports and a couple of tanks for our game. I understand his Soviets are well underway as well. So any way on to the action. As usual, I forgot to take a lot of photos, but there is enough to tell the story.

We had a platoon each of infantry. The Germans had 12 support points with which I took a Pak 38, a Roadblock, one entrenchment and an 8cm mortar. Mike had 19 support points with which he had two Shermans and 2 snipers. I diced up a morale of 8 and Mike had a starting morale of 11.

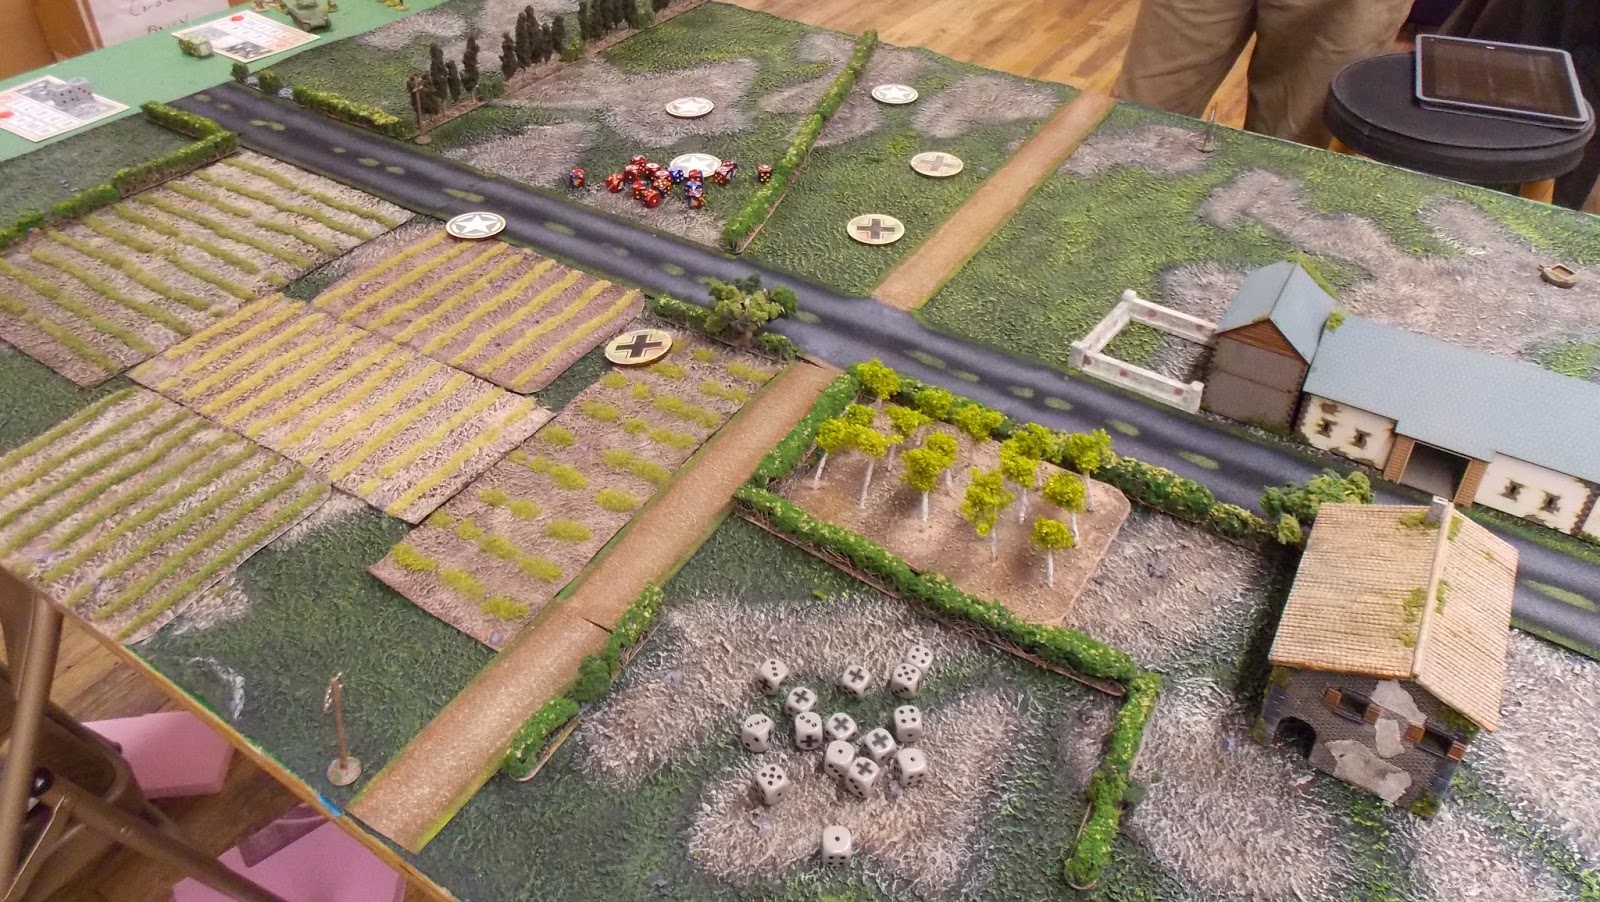
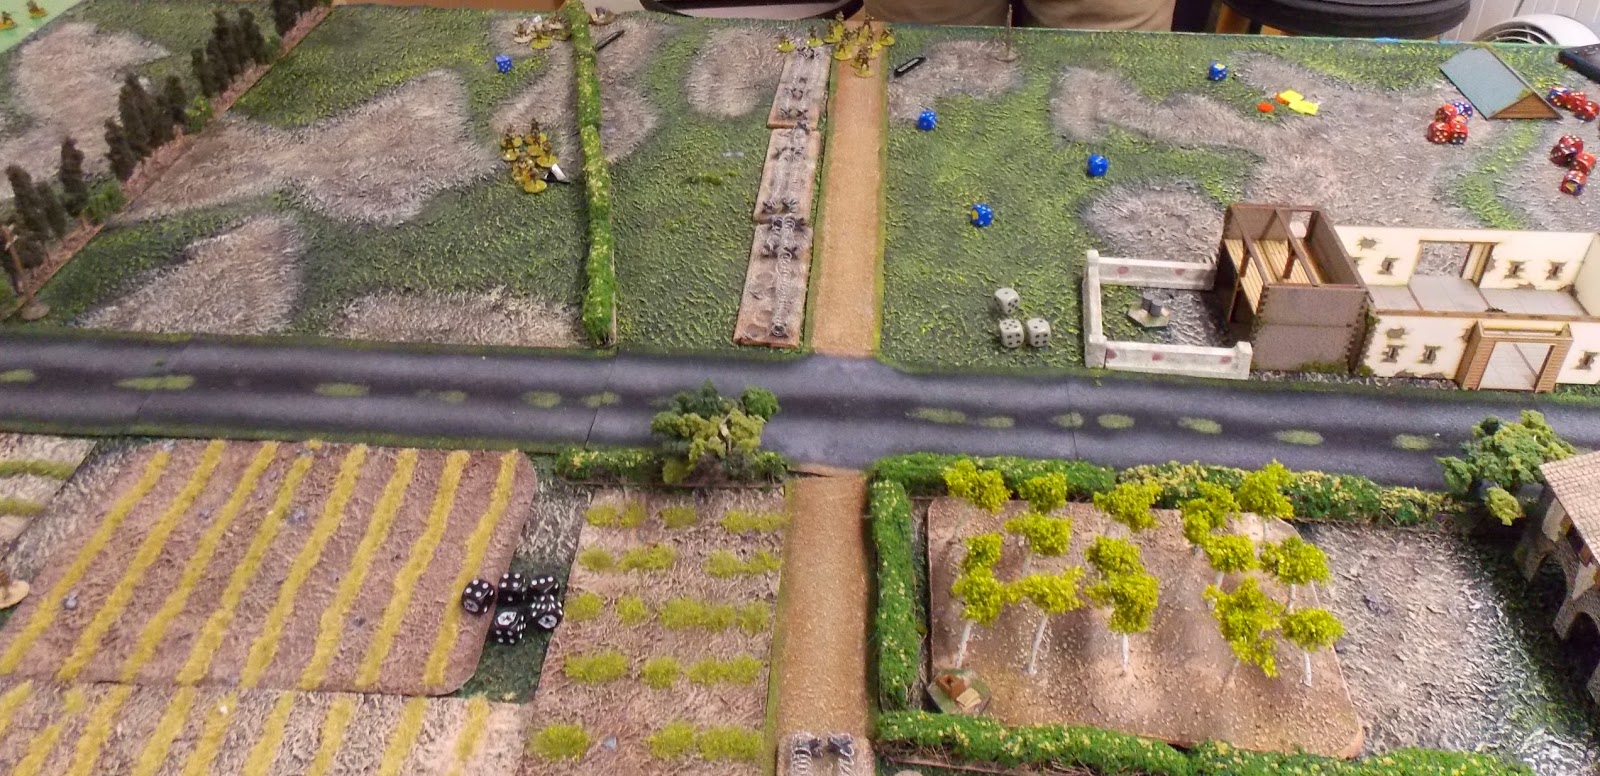
Here is the view looking west, the American starting point is in the foreground and the German are in the far ground, to win the scenario the Americans have to fight there way down this road or worse the Germans to withdrawn voluntarily or by a failure of morale. The ground is all hard and the hedges are hedges not bocage (using my bocage though). The houses are all stone, and they and the stone wall are hard cover. With the hedges being light cover.
The German right flank, the fields slow movement but provide no cover. I got my roads finished, they came brown from the Wargamer's Terrain but I wanted tarmac, so I airbrushed them dark grey then added successive coats of lighter grey with the airbrush. the edges were then painted with the same shades of green as my terrain mat and bocage bases. I think everything is starting to come together. I put in a central grass verge, but I think I will it in a bit more though.
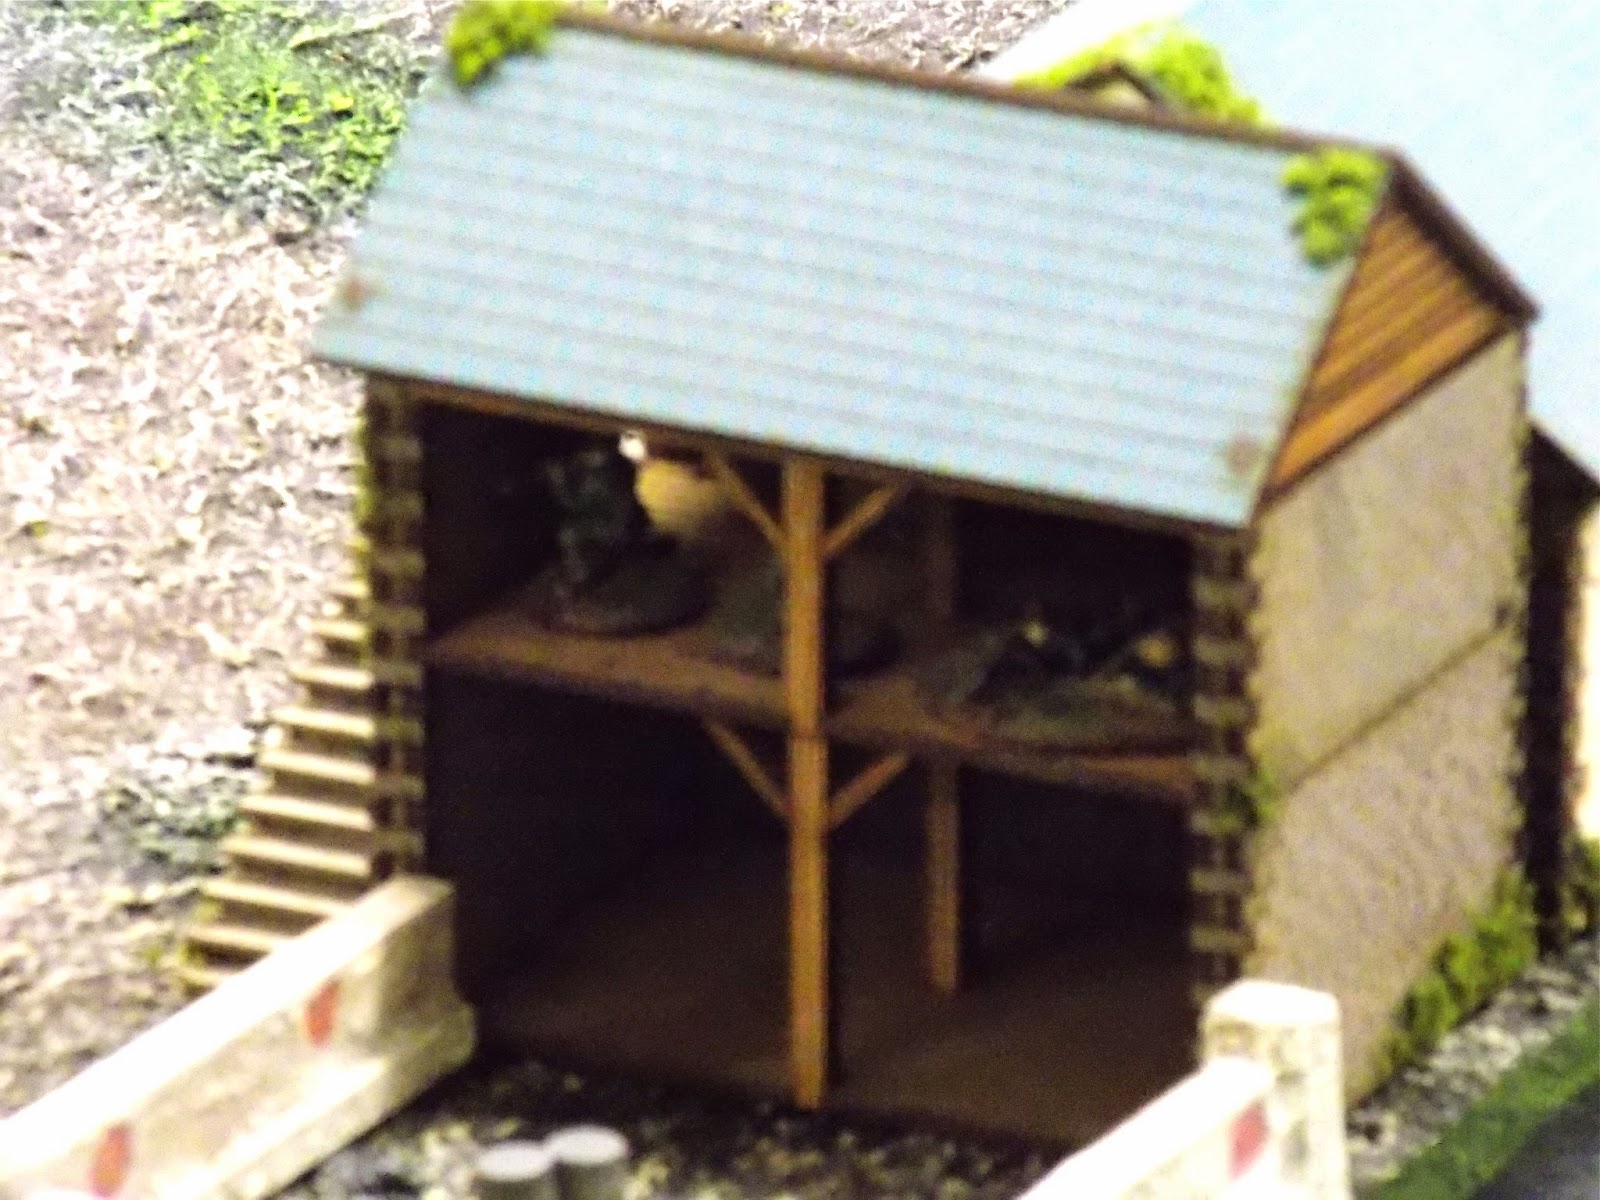
The German JOP's. I screwed this but as I did not put one in  the house. I think I got a little too offensive when I should have been thinking defense.  I did want to get forward on my left flank, but there was little cover there.
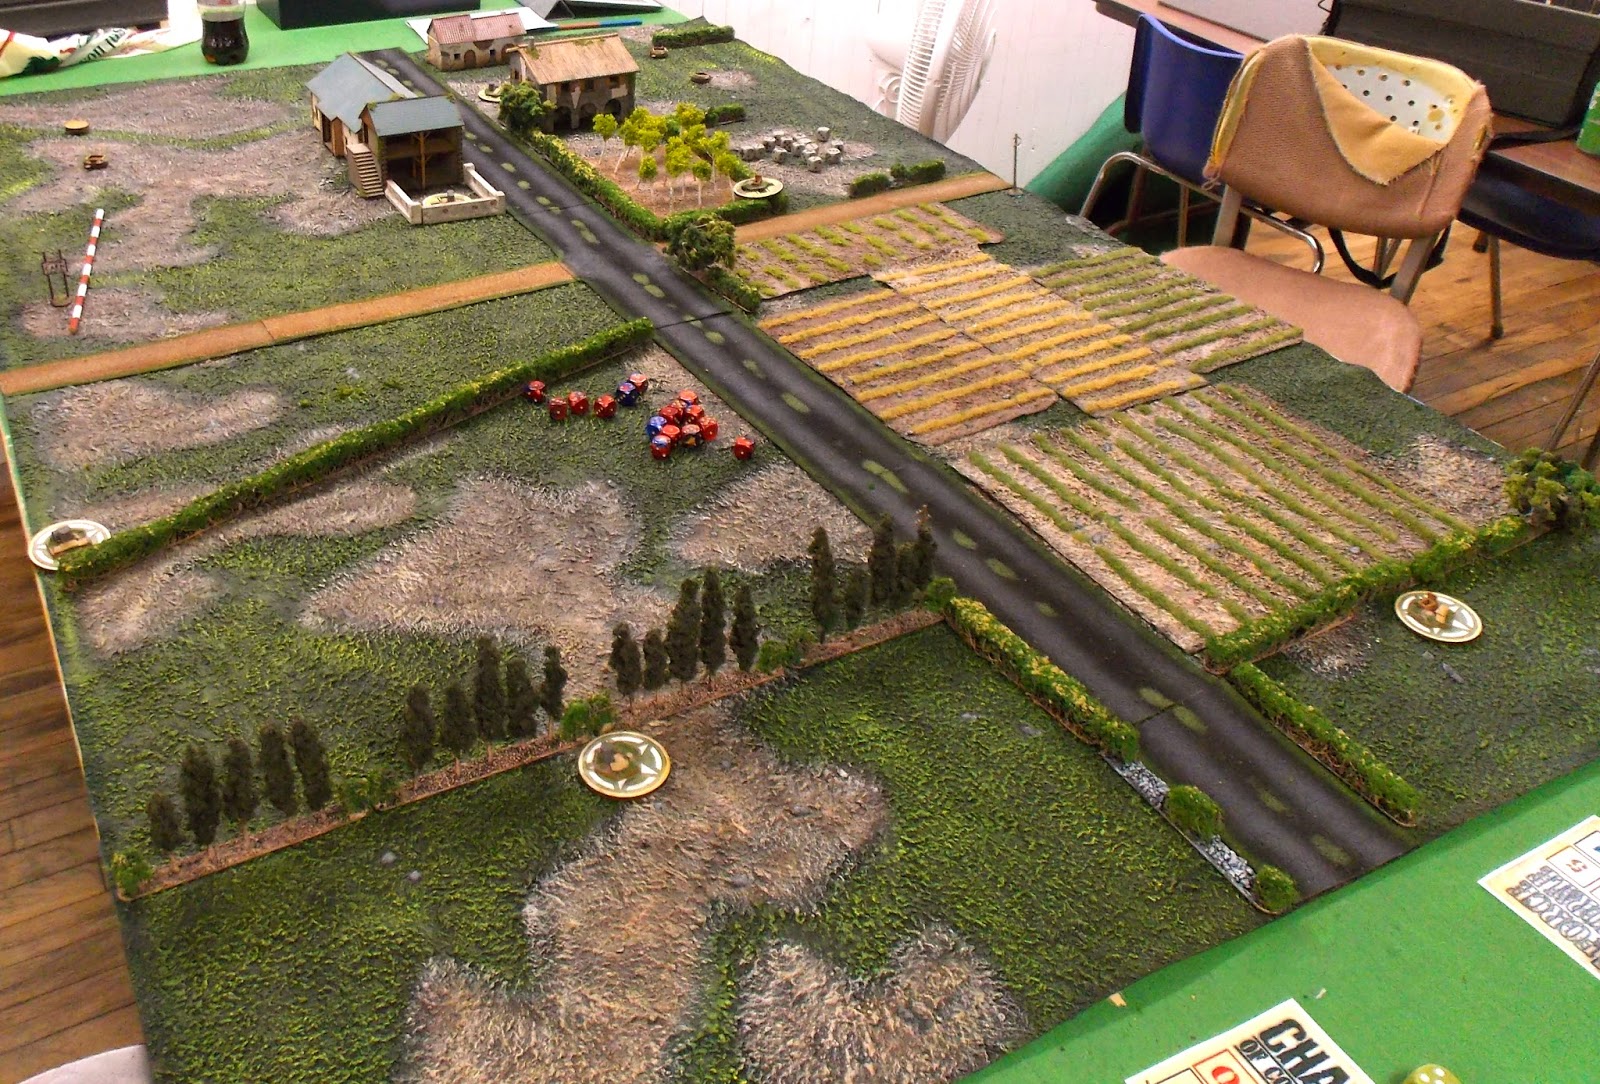
The Americans JOP's, there is one also in the stone house to the right where I was hoping to place one/
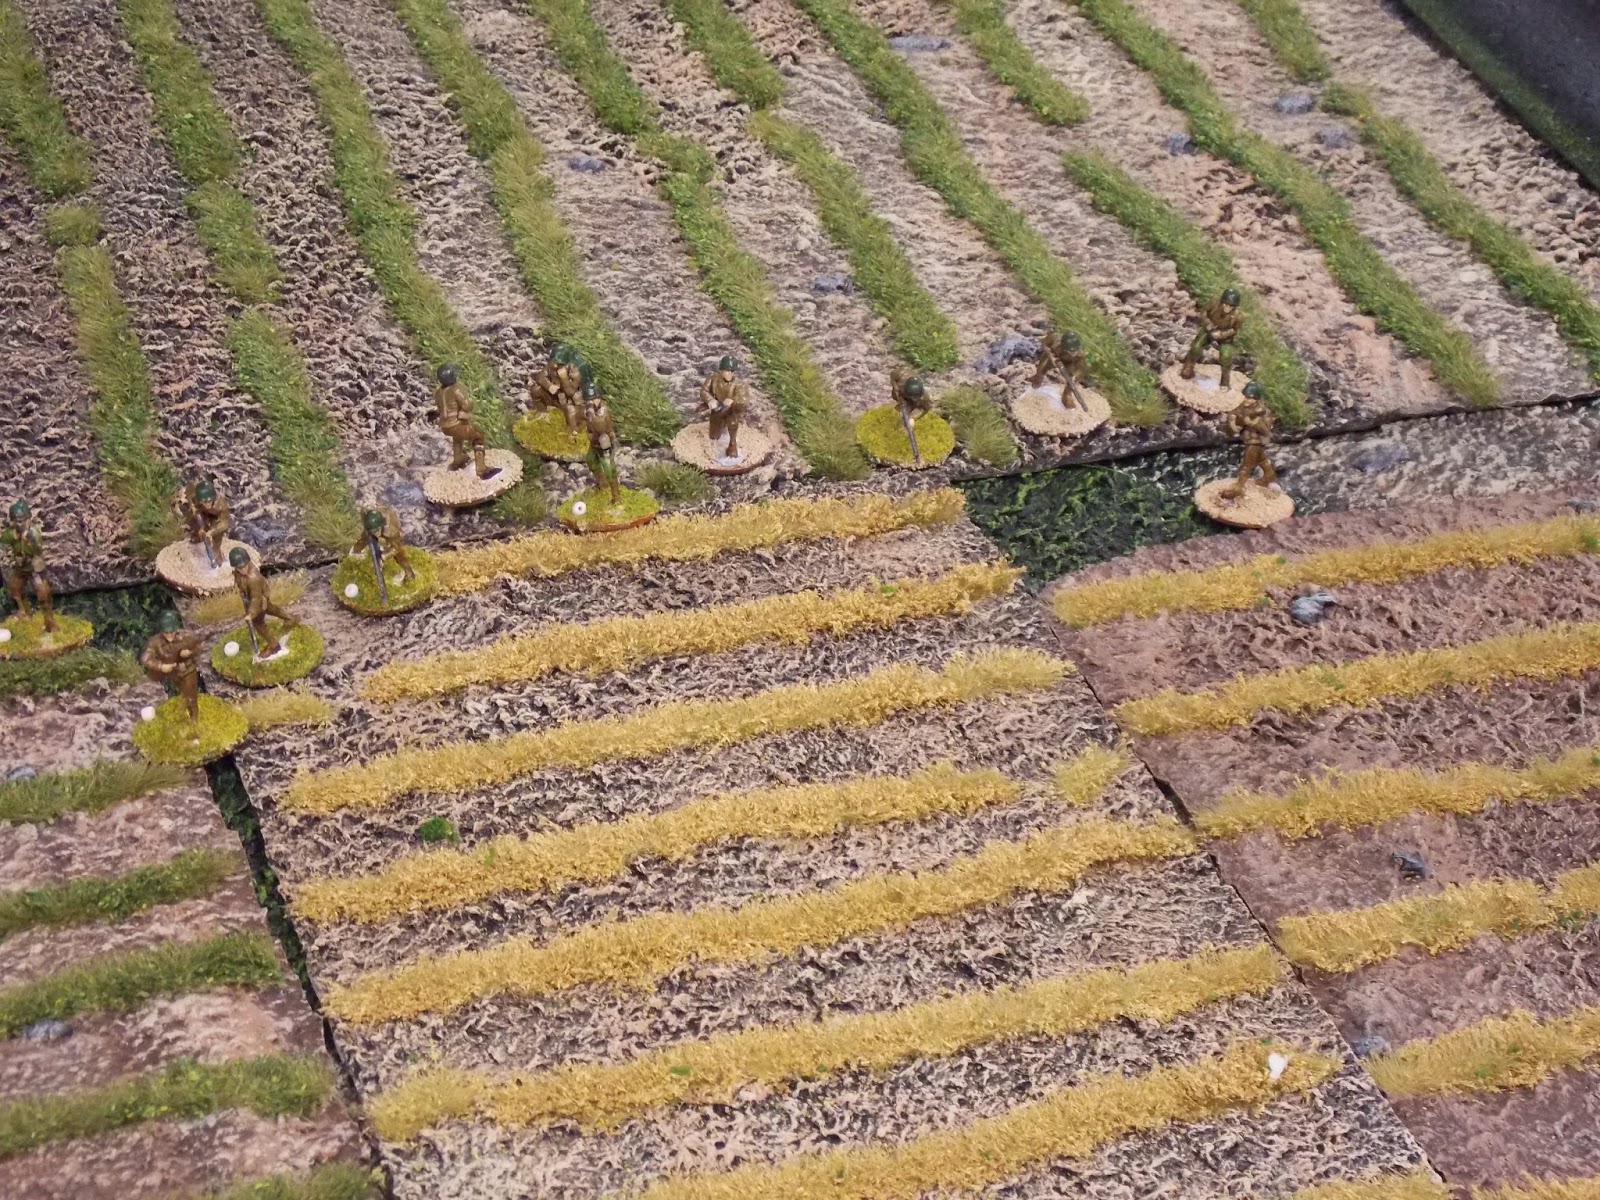
This is abut half way through the game, I had a tough time with my dice throwing several 4 and 5's early on, which is not really a lot of help. I have already lost half of the squad on the right and they have had to get back to cover. On the left is a LMG team with my FO. There really was a dearth of 1's early on in the game.
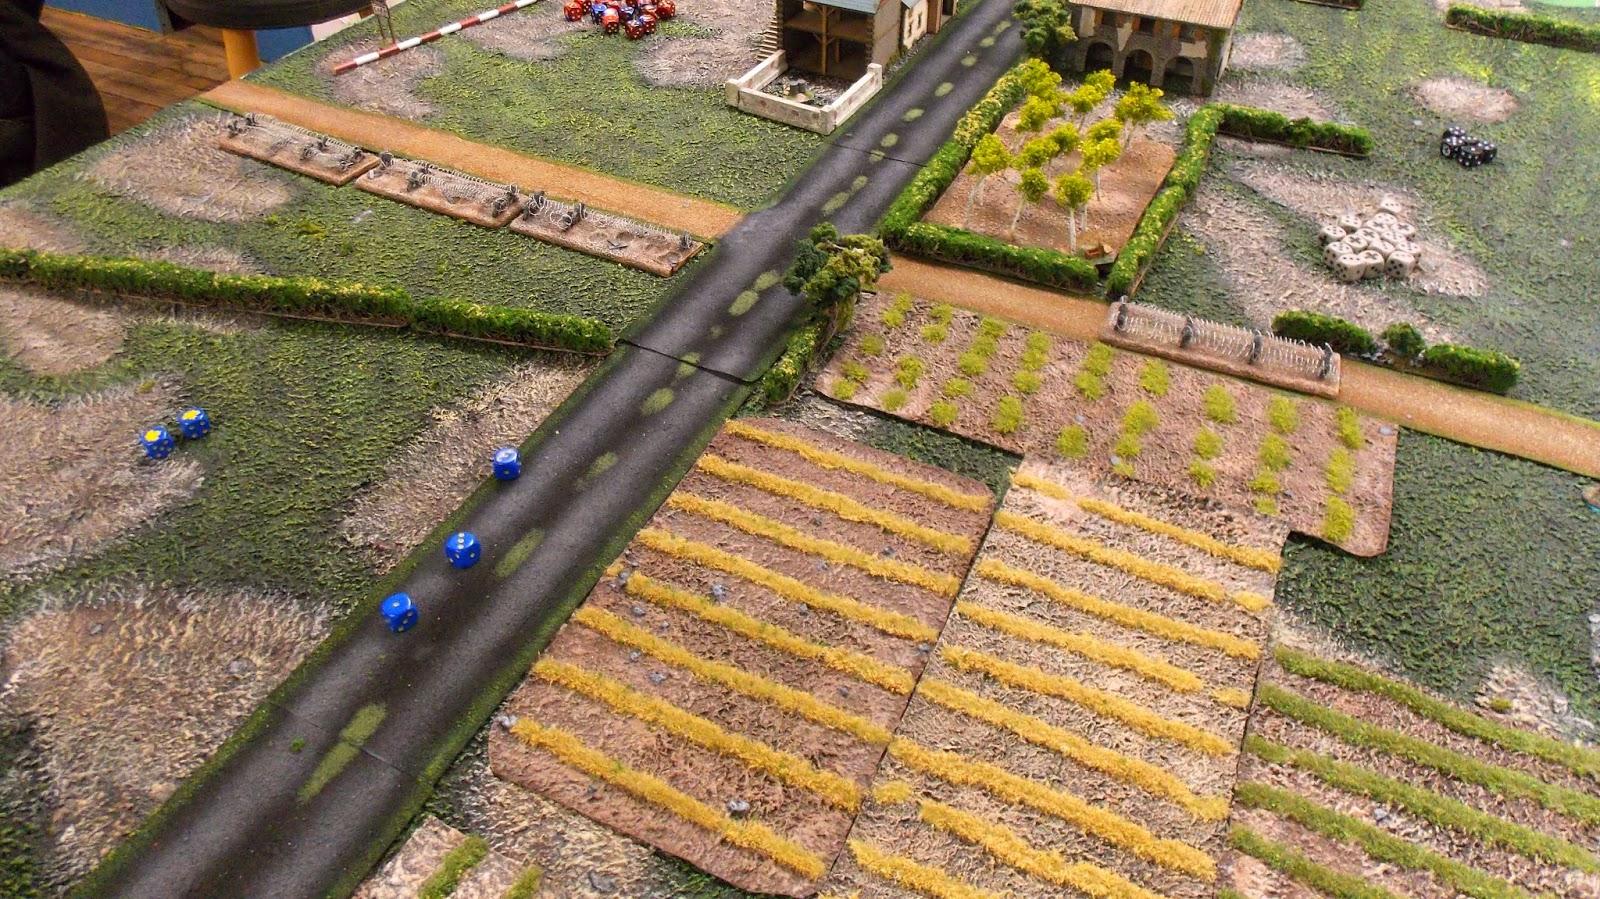
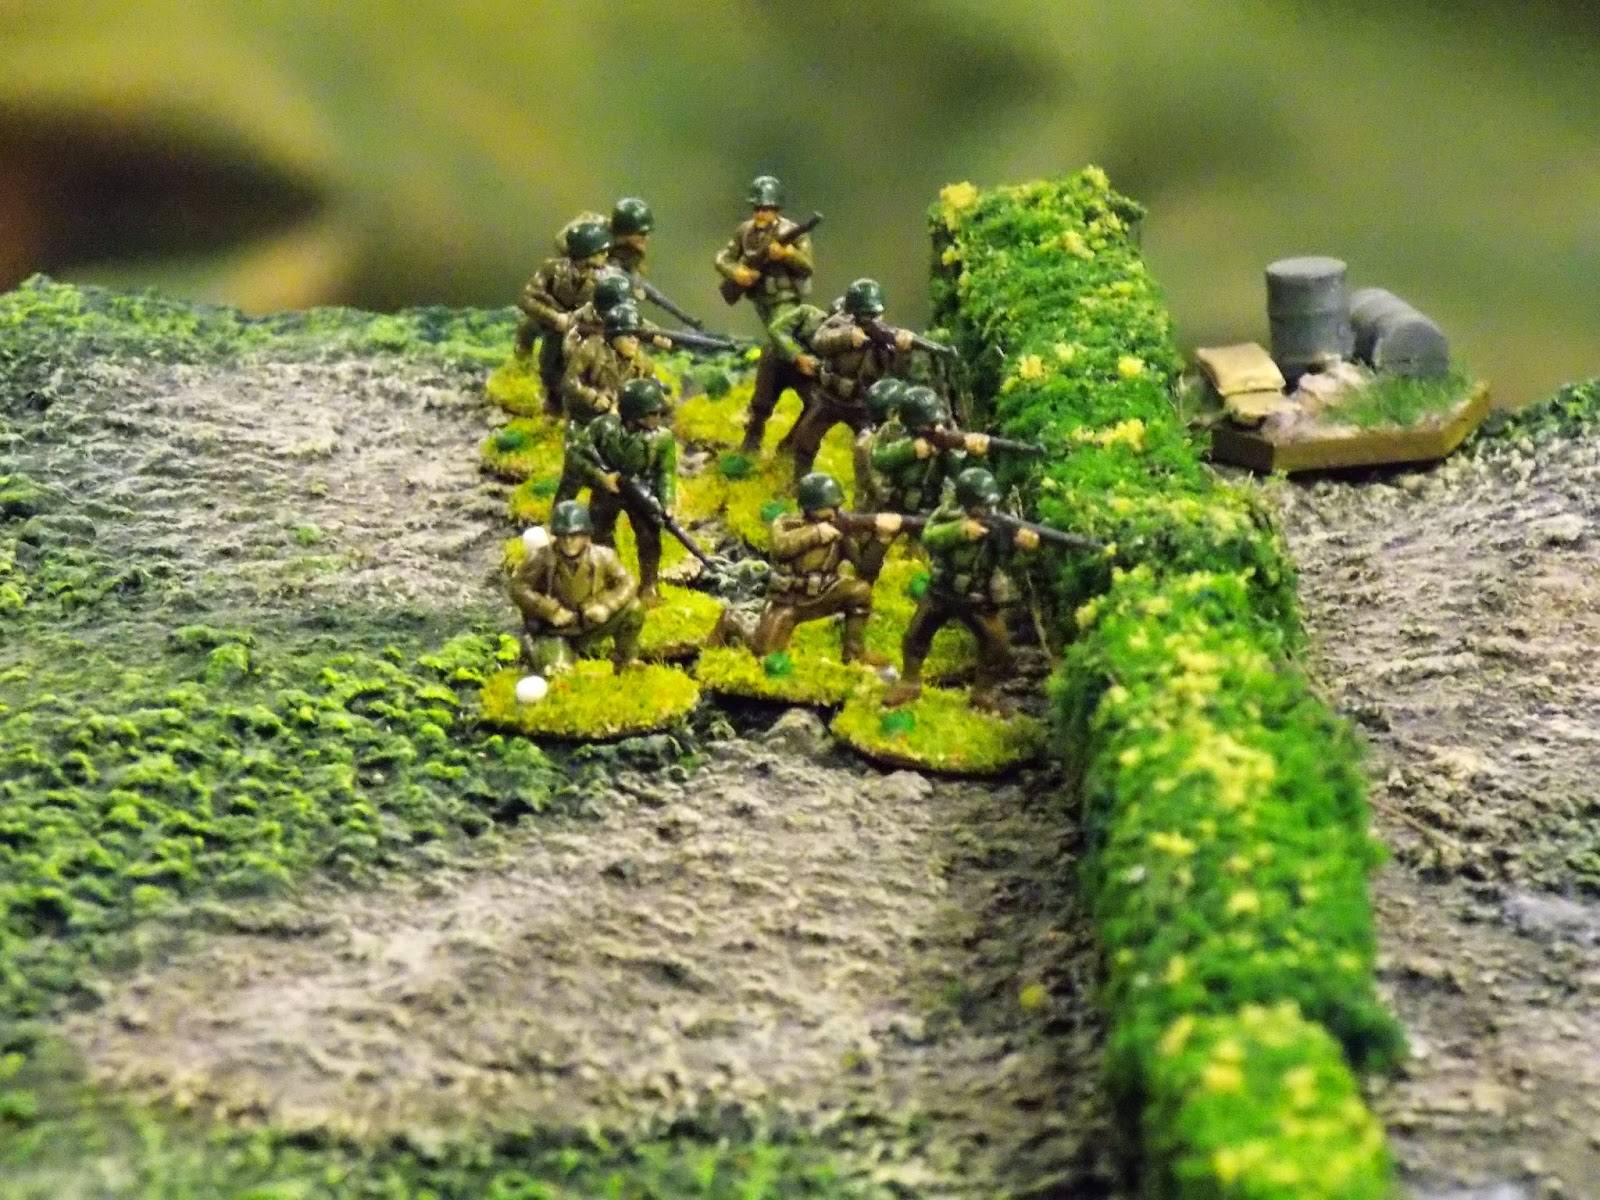
Here an American squad, that have advanced from their right flank in an attempt to take cover, I was able to destroy this unit without too much problem, but I was suffering quite a bit of attrition. 
I had 10 points of support available to me, I knew that the Americans had at least two Shermans in their force so I thought an entrenched Pak 38 would be useful, but it was of little help as once Mike saw the road block I placed half way up the road he went to his left flank with his first Sherman. I did have an off table 88 on his right flank but really there was poor LOS to his left and I did not get to fire it. Mike also had two snipers that slowly eroded the AT Gun team and by the time the game was over the gun had been abandoned.

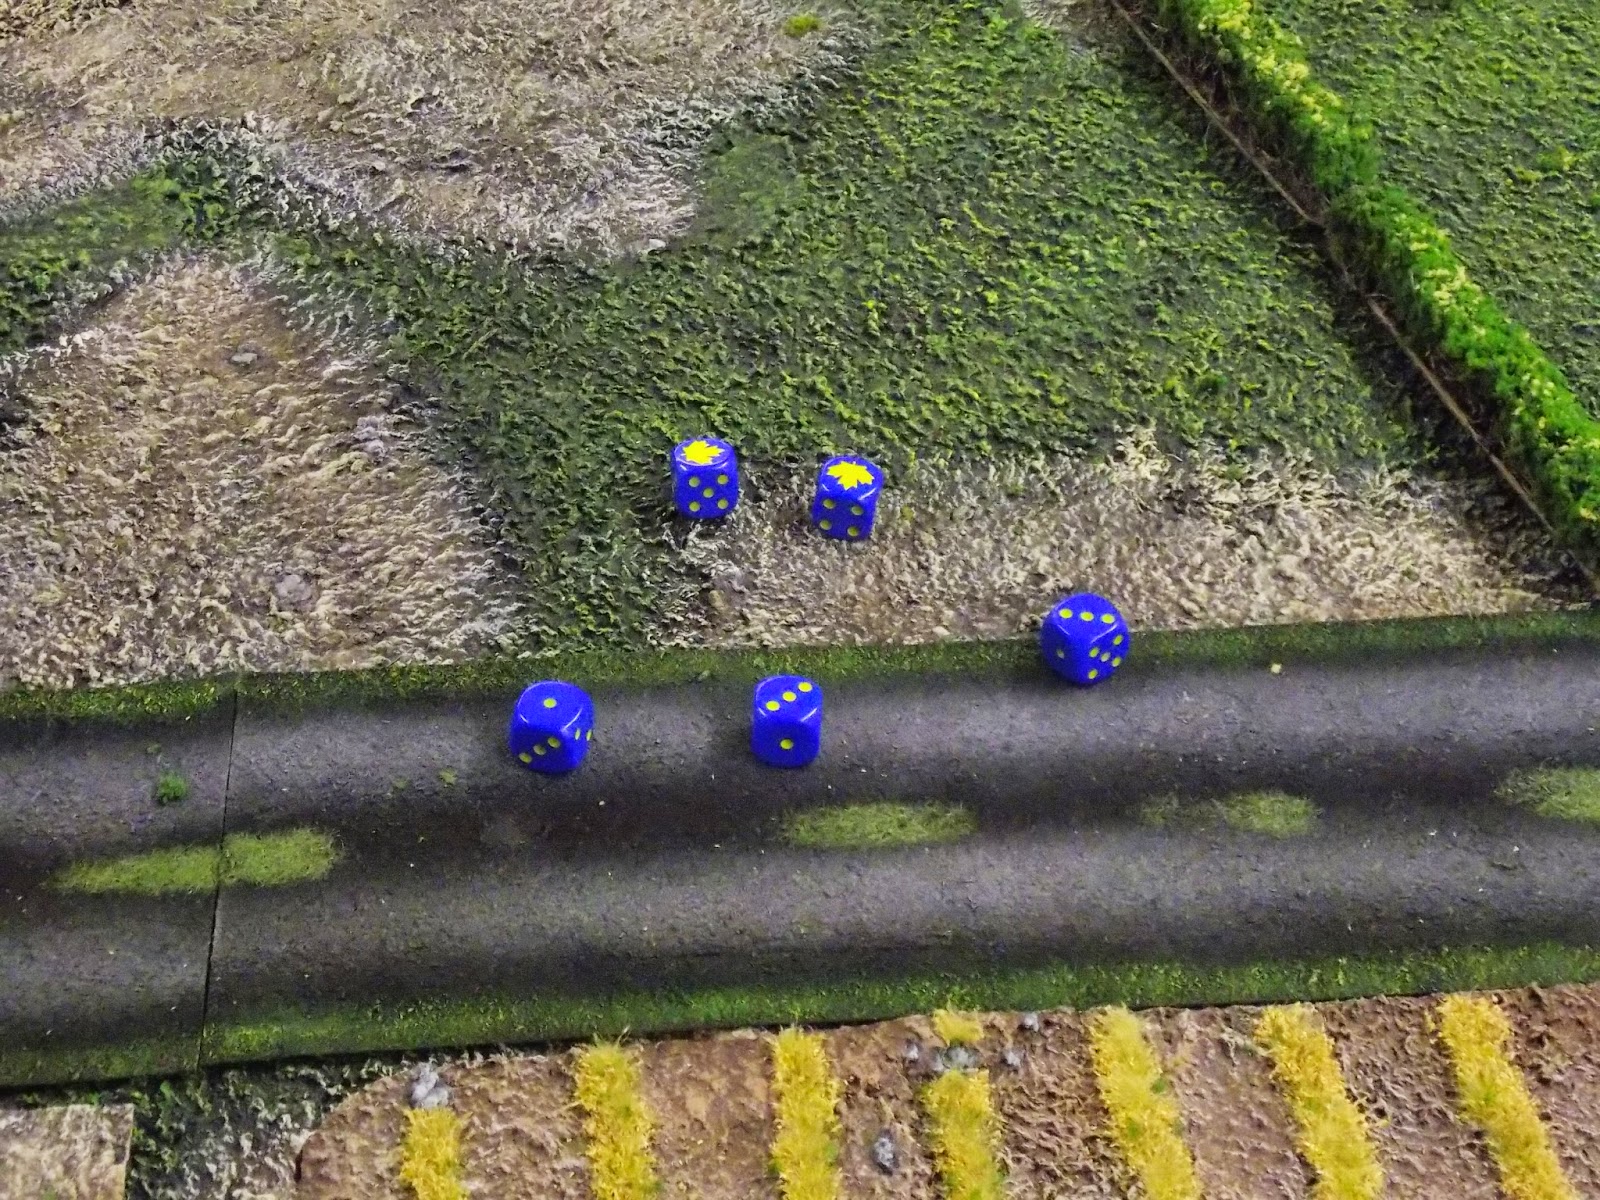
Mike's 2nd squad advancing on his left flank. He was very successful with this, I had expected him to advance his tanks first, but he advanced his infantry for which I was a little unprepared.

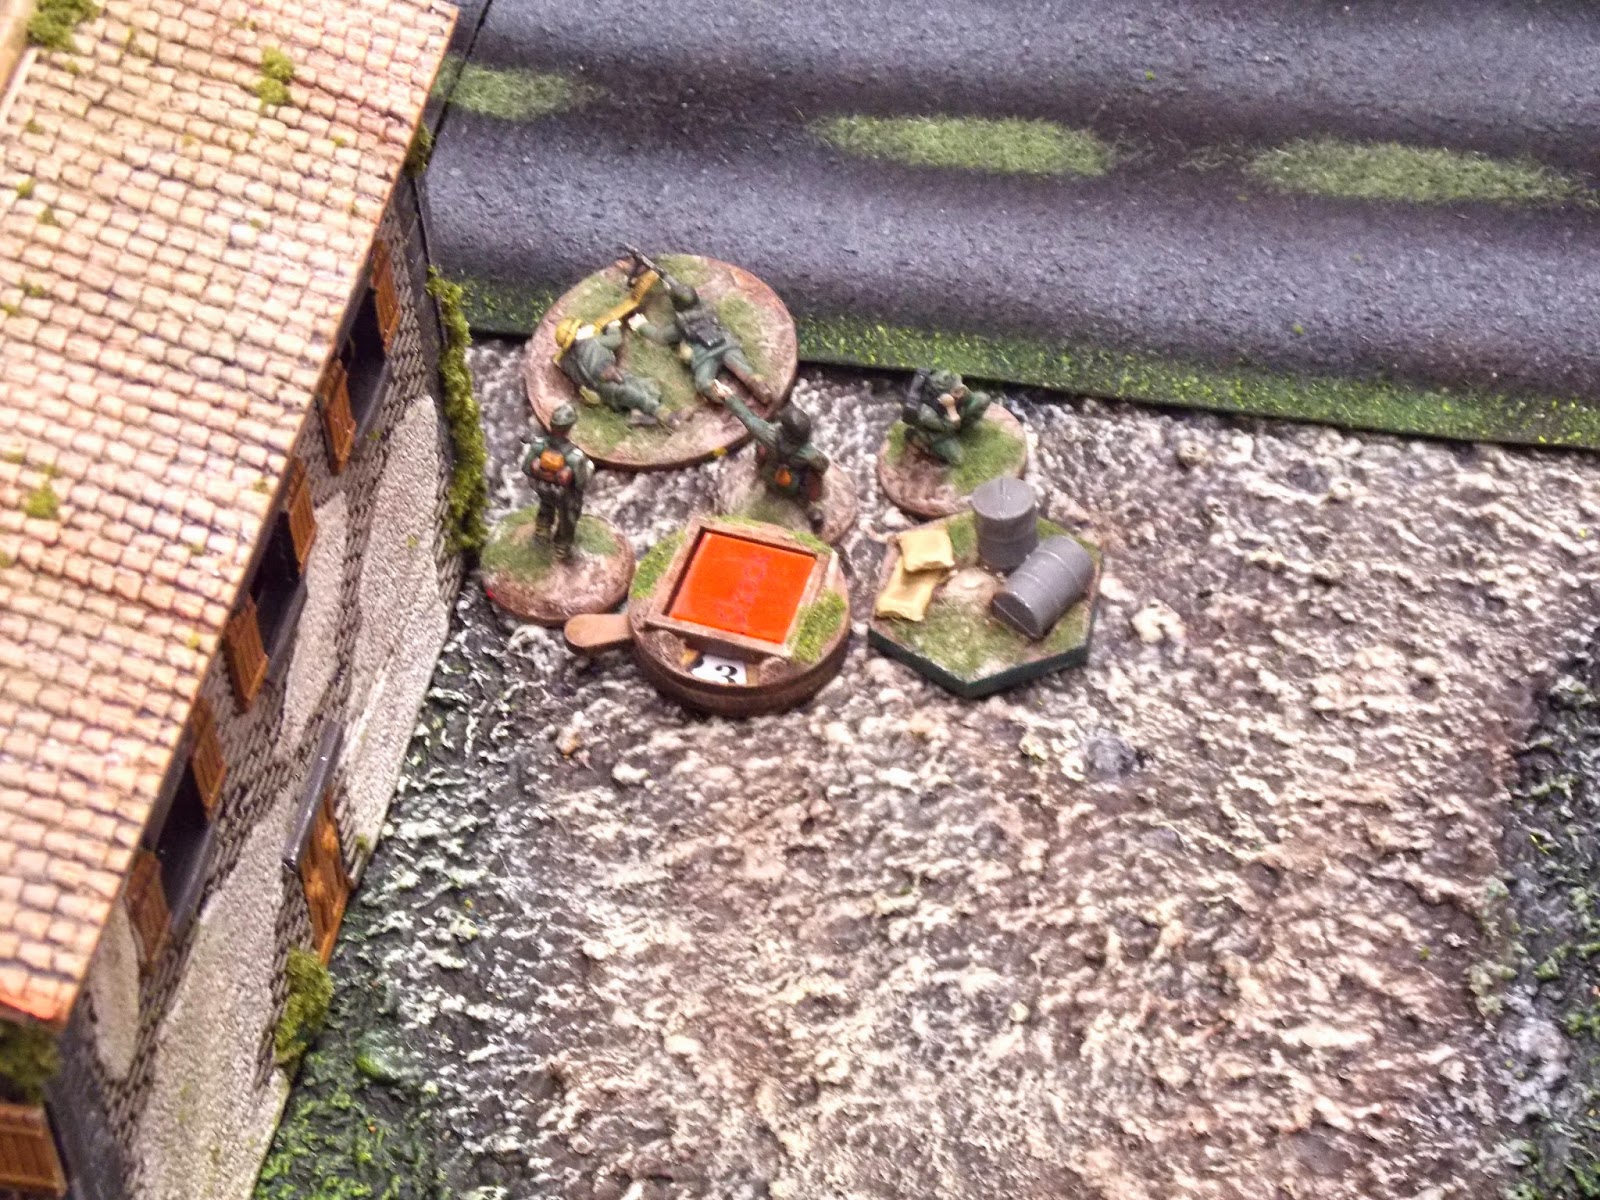
Using casualty markers from Warbases UK, very handy. I use a red square for shock and the dial, change over to yellow when they are pinned. I also use a black rectangle to measure casualties on a multi figure support base. It worked well.
An American squad just before their demise. I used a Chain of Command dice, to bring on my 3rd squad to ambush them. 
I only got to fire my medium mortar once in the game, and by the time I got it done there was only a single American sniper in the 18" square barrage area before the turn ended. In the second turn when I called up the barrage it failed and was out for the rest of the game! Those 4 support points went down the train quickly.
I did get to take out one of the Shermans with a Panzerschreck which appeared on the road in ambush with another Chain of Command dice. These can be quite useful.
My troops scrambling backward as the German morale was failing.
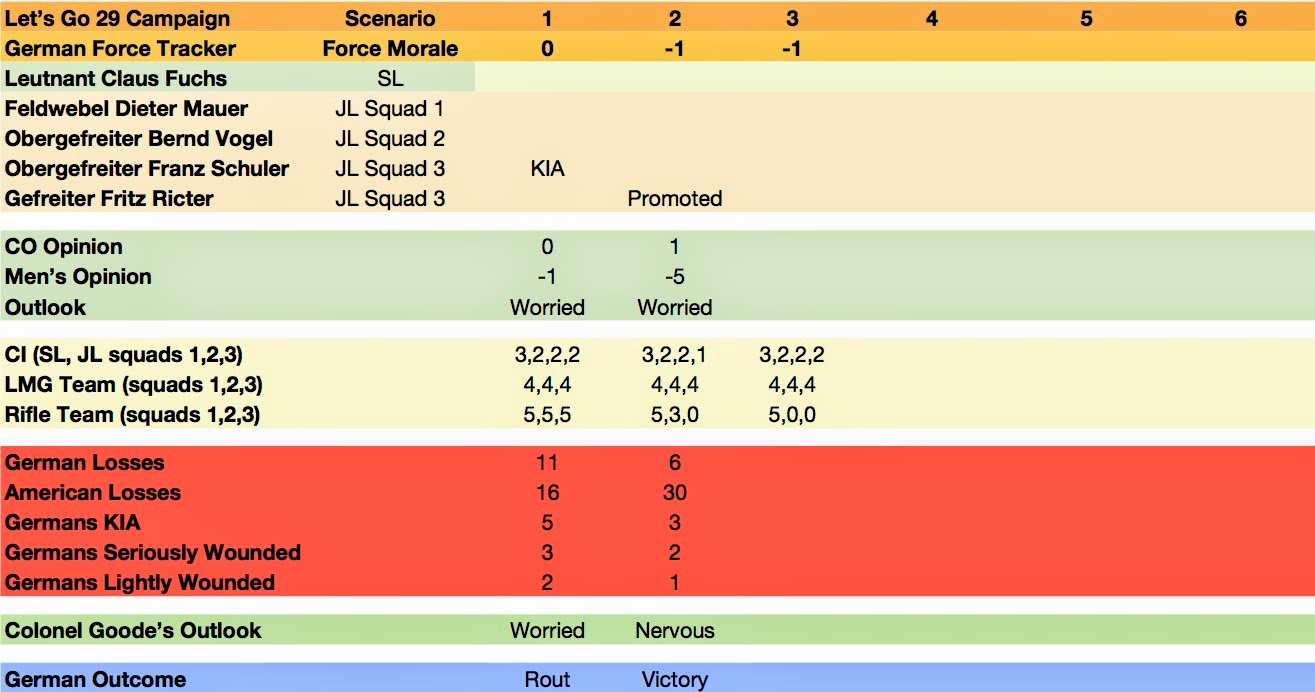
Although I lost by a morale failure it was a great game. I lost 10 men and a JL, while Mike lost 16 men. Unfortunately for me, the Americans have plenty of reinforcements so start each scenario with a fresh platoon. By applying post battle attrition rules from At a Sharp End, I have lost 5 men from my platoon permanently and 3 for the next battle. Leutnant Fuch's men faith in him has dropped and his platoon is going to suffer a -1 on their next Force Morale throw. It is going to be a tough campaign!

Here is my campaign tracker, I am hoping it is pretty straight forward.