The Forces
USMC (FM 11)
2nd Marine Raider Battalion (missing 13 men)
Platoon #2
2 SL's
2 Raider Squads with Superior JL's and 9 men (-3 men)
Supports (11)
Raider squad
extra BARs for 1 squad
Native Assistance
M1919 LMG Team
Japanese (FM 10)
62nd Garrison Force (missing 19 men)
1 SL
1 Inferior SL
2 LMG Buntai's with JL's
Knee Mortar Buntai with JL and 3x50mm Mortars (-6 men)
Supports (6)
MMG team
Marksman
Adjutant
Patrol Phase
We started off using P-Y's patrol ap, smaller dots represent the JOP's. This was the "Attack on an Objective" scenario for the main rulebook. The Raiders have to blow the Fuel Tanks. This was a completely different game then the last in that the Raiders were able to capture the southwest part of the terrain so their approach to the objective would be from the south.

The Action
The game took place over 2 days, as we got started a little late the first session. We finished up this past Tuesday. All the core players showed up for both sessions. I thought I had taken more photos but it appears I had not. There was a bit of tentative movement in the first session but the game certainly sped up in the second session.
 |
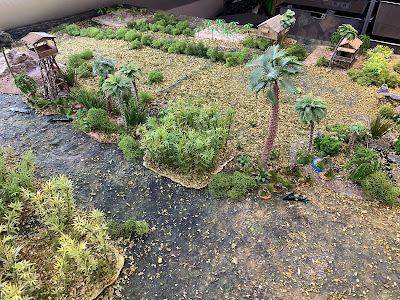
| The table |
 |
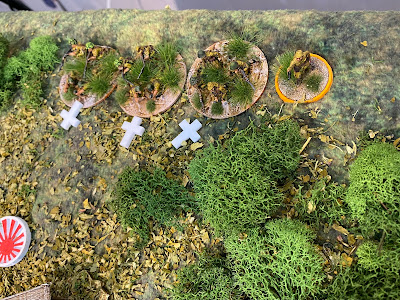
| JOP's |
 |
| The Japanese deployed their marksmen in the watchtower as well as their Knee Mortar squad almost immediately. The Knee Mortars were placed behind one of the oil tanks with the Marksmen giving them indirect LOS to the approaching raiders. |
 |
| The marines got off to a quick start deploying their 2 core squads and then their support squad as well as their LMG team just south of the wharf. |
 |
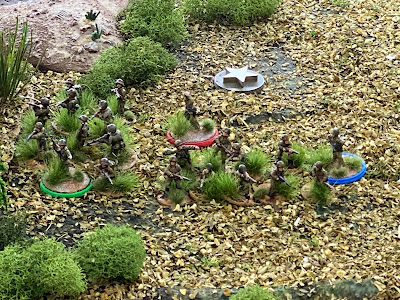
| The green raider squad with the Platoon leader took some loses and shock from the Knee Mortars. |
 |
| Pink and blue marines squads advance to the jungle edge |
 |
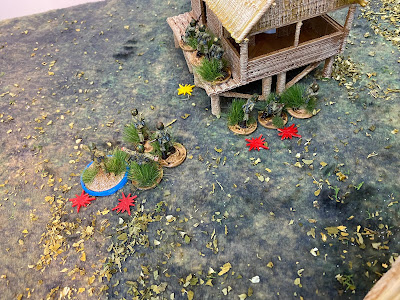
| Eero leads the pink squad to safety behind a hut in the initial raider assault on the objective. |
 |
| They are covered by the blue squad. |
 |
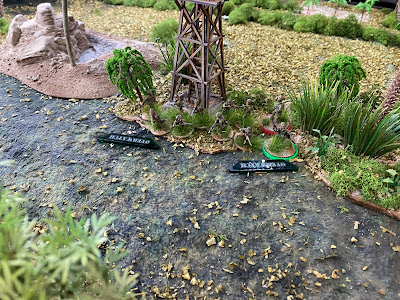
| The green marine squad supported by the LMG also advanced north staying behind another hut to block LOS for the marksman. |
 |
| Jarrko has deployed the IJA blue squad with himself in the concrete building, |
 |
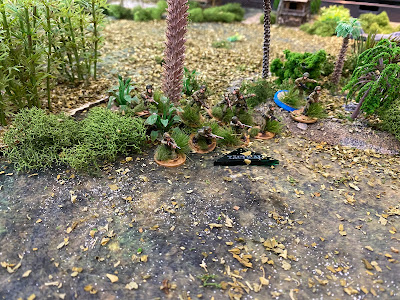
| Mikko pulls the trigger and orders Eero to advance with the pink raider squad with his own green squad to assault the IJA green squad ( all though not in the rules we see no reason not to allow multiple squad assaults). |
 |
| Jarrko although has a CoC die and adroitly plays it bringing the IJA blue squad out of the house making what seemed to be a sure marine win in doubt. |
 |
| If I have it right the raiders had 46d6 and the the IJA 43d6. In CoC though sometimes numbers can win, the raiders had all their men killed in the first assault while their 2 Leaders were wounded. The IJA had 4 men survive with 2 Leaders wounded. As there was no clear victor, a second assault took place. In this assault the IJA drove back the raiders, killing one of the JL's and knocking down the SL and the pink squad JL. The Marine FM was 1 while the IJA was over 3. The IJA still had over 25% of their men alive after we applied the ATSE rules. The Victory in the game and campaign was given to the IJA. |
I really enjoyed putting on this campaign, it is the first time I got a chance to get my jungle set up and troops on the table. My Finnish friends are all great CoC players and it was anyone's campaign to the very end. Also thanks to William Thorpe for putting this, a very well written campaign, together.