Blitzkrieg 1940 was released for Chain of Command in the early fall. This much anticipated CoC source book is the first released and covers the Western Front in 1939-40. It contains several new army lists, some new rules as well 5 new scenarios. It is a great resource.
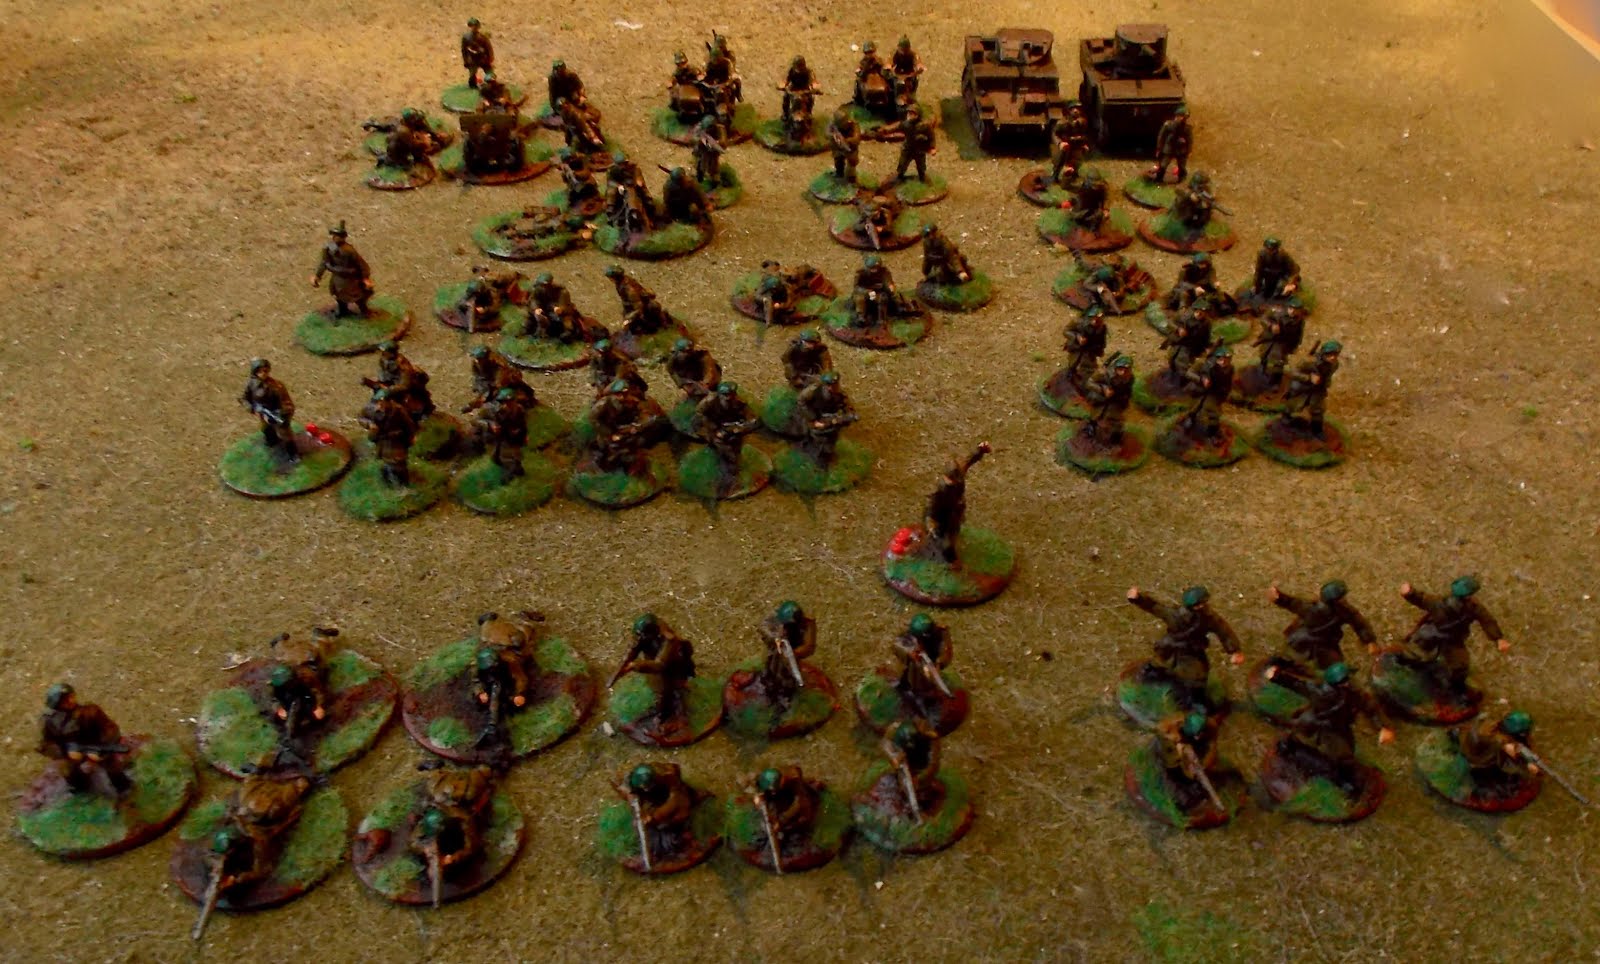
I have a good German force already in place and aside from some Early War German AFV's, I can easily field a complete force. But what force to pick on the Allied side? After having a good look through the army lists and knowing my penchant for the underdog (read Winter War Finns), I decided to go with a Belgian Force. Having the Skirmish Campaigns book Hunters of the Ardennes; I decided to go with the Chasseurs Ardennais.
Intersting core platoon with 2 very large infantry sections of 16 men as well as a D.B.T. 50mm mortar section. I will go more into the figures selected as well as the painting process in another post, but suffice to say I painted a lot of figures in 3 weeks.
Going back to the
Hunters of the Ardennes booklet, I decided to go with the first scenario describing the original advance of Schützen Platoon of the 1st Panzer Division just after crossing the border of southeastern Belgium from Luxembourg as they advance toward the village of Martelange in the early morning of May 10, 1940. Trying to slow them is a platoon of Chasseurs Ardennais. The OB in the SK booklet had a squad aside with some supports but I decided to go with full platoons as laid out in the 1940 CoC source book using the
Going with a Bang scenario. For details of the scenario please refer to the source book, but essentially it describes an action with a defender withdrawing before a superior attacker while carrying out demolitions to slow the advance. Just perfect for the first day of the German attack into Belgium.
Myself and Greg played the scenario this past Saturday. Since this was the first outing for the Belgians, I took the liberty of playing the defender.
 |
| The German entry is in the foreground. They are advancing to the northwest to the village of Martelange up a paved road. On their left flank is a hill with a dirt road. Their are a few wooden houses, some light forests as well as some hedges (medium obstacle blocking LOS) and a small stream (minor obstacle) to their right flank. The scenario is set up so the defender has 2 blow 2 culverts on the
paved road. Once the terrain was set up I diced for both the position of culverts as well as their size. I threw high so both culverts were large (requiring a cumulative task roll of 12) but placed within 24" of my table edge.I felt this was the best result. |
| | |
|
 |
| The present google earth view, showing very simlar contours. As ypu can see the road is right on the border. Quite a few more houses now of course. Really difficult to identify the stream so I made it quite small. |
 |
| View looking to the south. The culverts were placed under the paved road on each side of the house in the near ground. |
 |
| The Germans start with 4 Patrol Markers on their edge while the Belgians start 24" from their edge. As you can see this gave the Belgians quite an advantage in the Patrol Phase. |
 |
| The final position of the JOP's, we decided to go with 3 each. I was quite happy to have the high ground. |
FORCES
Germans (First Panzer Division)-FM 8, 14 Supports
Schützen Platoon
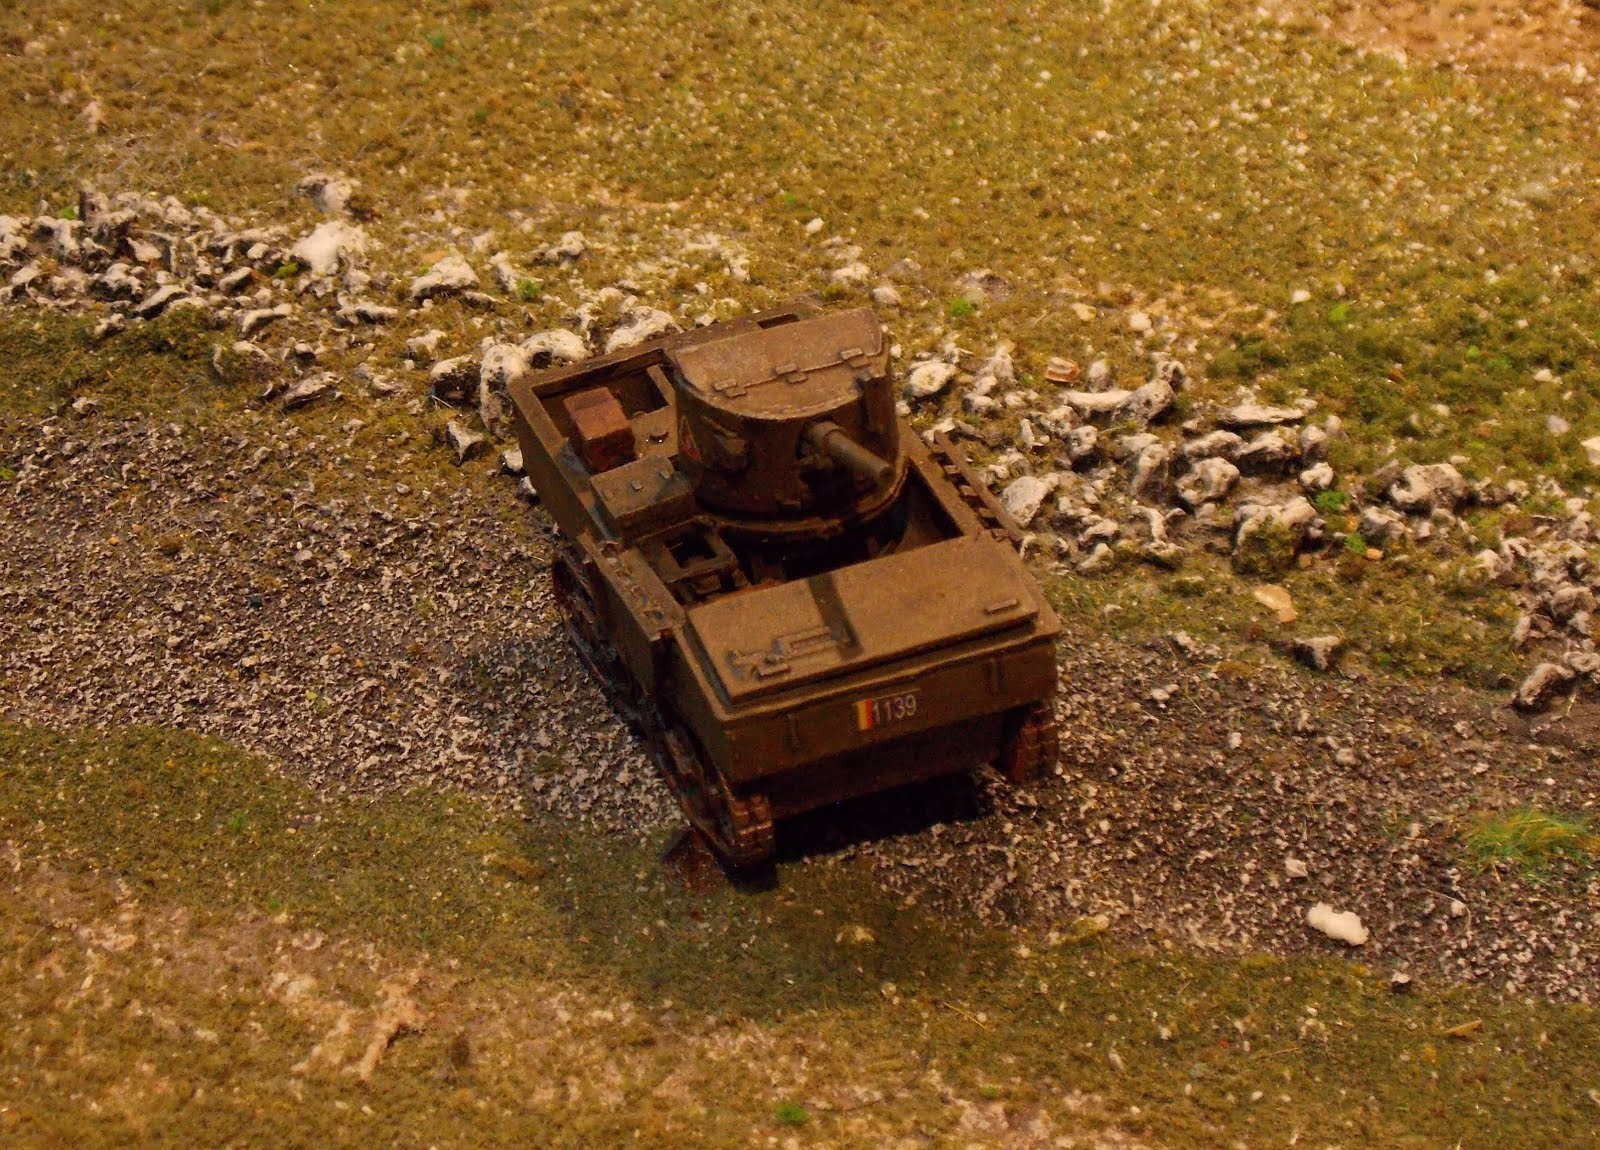
Panzer I
Red Dice
Pre-game Barrage
Flamethrower Team
le.IG18 7.5cm Infantry Gun
Belgians-FM 10, 6 Supports
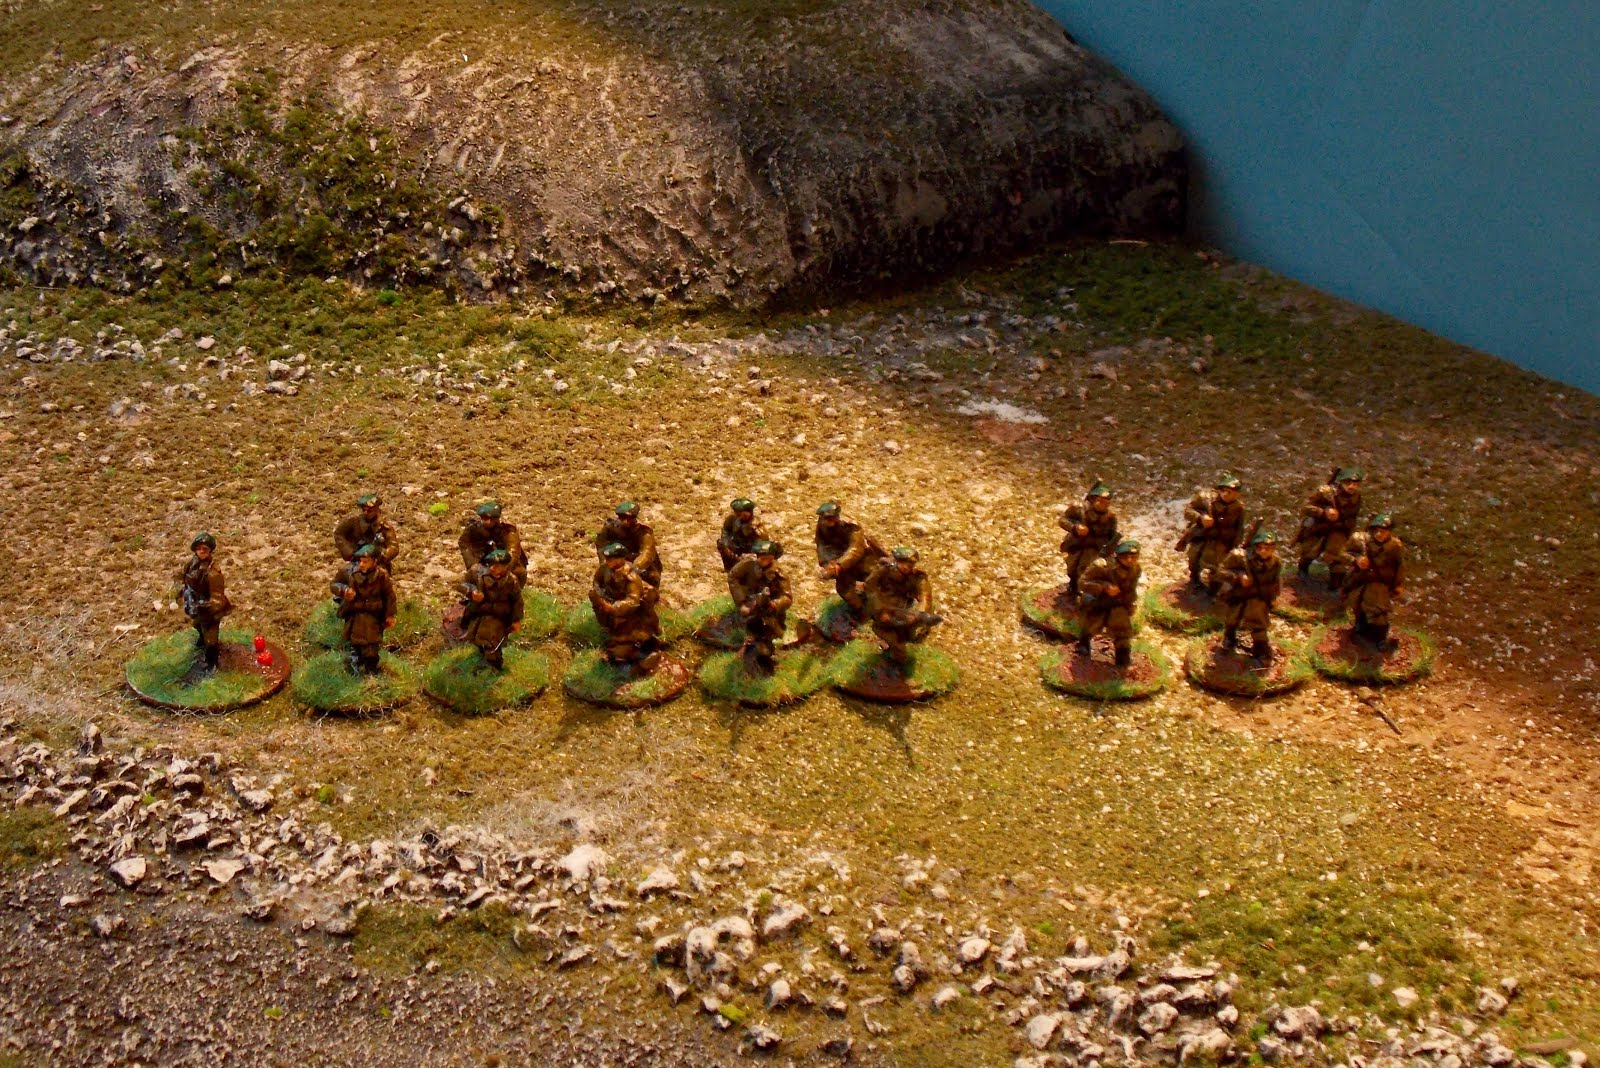
Chasseurs Ardennais Platoon with a demolition team
Entrenchement
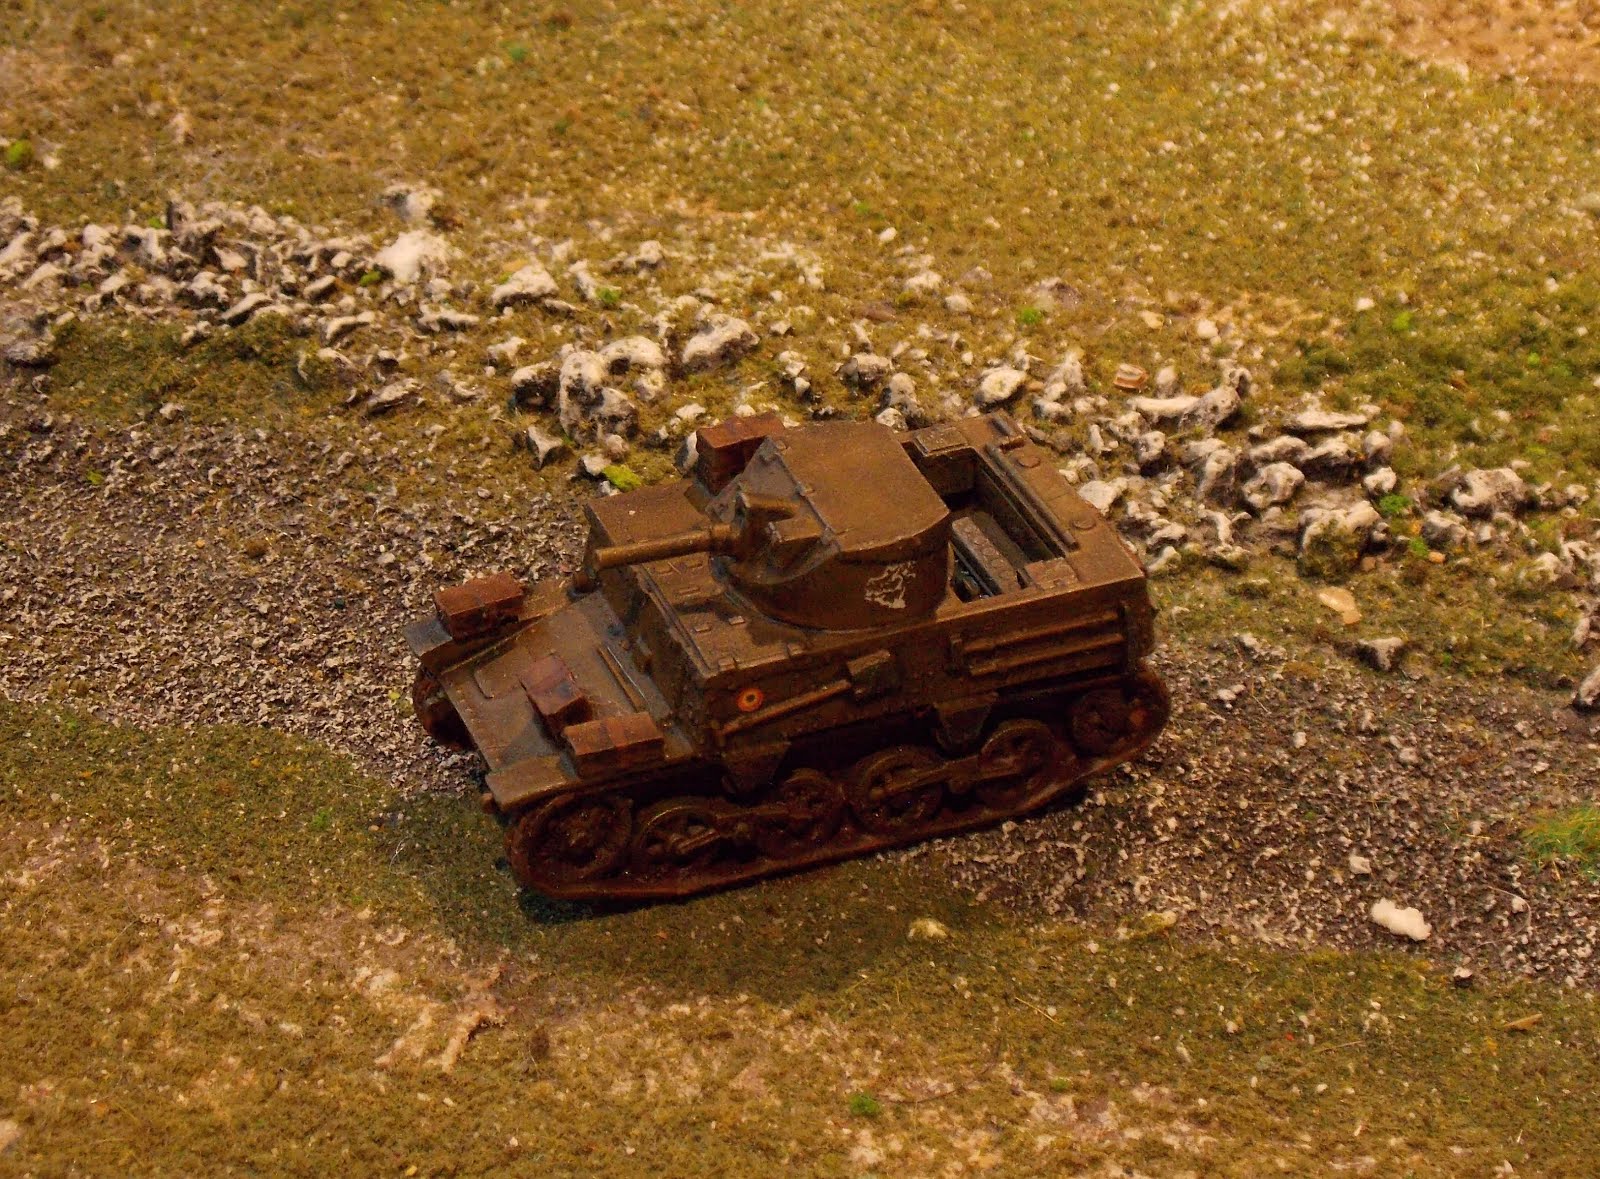
47mm FRC M1931 ATG
So the game began, as usual I took few pictures. I used a new teddy bear fur mat as the base terrain, not really sure how much I like it. I think it needs to be trimed down and I need to overspray some colour variation. My Belgian basing also need some work, another spray of mat as well as some flock to the bases.
 |
| Greg advanced an infantry squad, as well as placing his IG on his left flank in response to me placing a group de combat in one of the houses and the trees on their right flank. I felt that I needed to have control of the high ground. |
 |
| The Germans rain down both HE and small arms fire on the Chasseurs but a a 16 man section get take quite a bit of shock, so I was not that concerned. My goal was to get the attacker to focus on the infantry while my demolition team got to work on blowing the culverts. I had also brought in m D.B.T section at the base of the hill to cover my left flank. |
 |
| Greg advances a PzI up the paved road while advancing another infantry squad to take position in one of the houses. He had also advanced another squad up his right flank. I was able to whittle these down from the Group de Combat on the hill. The pregame barrage made it very difficult for me to bring on my ATG, I believe I failed the 4 times. Unfortunately no photos were taken. You can not see it but a Belgian JOP is just behind the house and Greg rapidly advanced the Panzer on top of it and ended the turn. His squad on his right flank had already taken significant attrition and his FM was down to 5. I lost 2 FM |
 |
| Ending the turn however allowed me to bring on my ATG in the next phase. First shot, the PzI was gone and the German's FM took another hit. I believe they were down to 3 by now while the Belgians still had a FM of 8. In the photo you can see the Belgian demolition team working on the 1st culvert , the marker dice show a 12 so they are all set to withdraw and blow it. A CoC dice is utilised and up goes the culvert. They adavnce around the house and place charges on the 2nd culvert. |
 |
| My 1st group de combat has taken some hits but I am able to withdraw them and as noted above the 2nd group de combat deploys and fires at the decimated Geram infantry squad attempting to advance up their right flank. They are able to generate 22d6! and although at only effective range they finish off the rifle team and kill a JL, German morale hits zero, game over. |
It was a pretty quick game, I wish it had gone on a little longer. I had a good patrol phase and secured the high ground quickly. I think we only had 3-4 double phases in a game which only went 2 turns, but certainly a decisive Belgian victory.
Blitzkrieg 1940 source book was well worth the wait and I look forward to getting in more games with my Belgian force. I have a game planned with Mike this Saturday I suspect he will be interested to get his Germans on the table.