02 December 2021

Saipan-Sugar Rush (5)

Last night, we had our 6th turn in the Saipan campaign, but only the 5th turn on the campaign clock. This was "The Probe" scenario from the main rulebook. This I felt would be the toughest game in the campaign for the Marines to win so I had to be on my toes. We made a slight error in our last game as I believe I was supposed to bring on my 2nd platoon, so for this game I had a complete platoon.

P-Y got the jump on me in the Patrol Phase as he got 4 free moves. He got quite far up the table with 2 of his JOP's. I was happy enough with 2 of my JOP's but I would have liked to have the southern JOP a little closer to the hedge.

USMC (FM 11) (+3 on FM roll)
6th Marine Regiment

Type F USMC Platoon #1 (2 men missing)

2SL
3 Infantry Squads with Sup JL and 12 men

Supports (12)

M4A2 Sherman (7)
M3A1 Stuart (5)

Japanese (FM 11) (+2 on FM roll)
136th Infantry Regiment

Type B Infantry Platoon #2

2 SL
3 Infantry Sections with Jl and 12 men
Grenadier Section with JL and 12 men and 3 50mm Mortars

Supports (7)

Minefield  (1)
Tank Hunter Team (2)
4.7cm Type 1 ATG (4)

So on to the game:

I had a pretty good idea that P-Y would go with at least one tank but I was a little surprised that he went with two. I was quite happy that I took some good AT support, the Tank Hunters were going to be key here as I had 2 JOP's close to the hedge with both of them less then 6" away allowing the TH team to deploy on the far side of the hedge.

The Marines got the first move and of course P-Y threw a double phase which is a real gift when you are the attacker at the beginning of a game. He put down the Stuart first and then the Sherman in his second phase, while advancing the Stuart quickly up the table. I decided to hold off until I got a better idea where the tanks would attempt to breach the hedge (major obstacle). The Stuart made a right turn and it appeared clear that it would attempt to cross at the southern point. This worked out well for me as I had to reserve the Tank Hunters for the Sherman. I deployed my Type 1 ATG with a strike of 6 AP and it was able to knock out the Stuart (armour 4) in it's first shot. Things were looking good, but in the next phase the marines deployed 2 infantry squads to fire at my ATG on the hedge ( I really should of put them down with an IJA Infantry squad to share hits but I forgot). I believe the 2 squads got a total of 16 hits, my saves were pretty good with a shock and a kill but I rolled a 1 for the leader hit and the JL was taken out for the rest of the turn.

IJA phase, I rolled a 4 and deployed a SL off the hedge and pulled the ATG off the hedge. Time to reorganise as I knew the Sherman was about to crash through the hedge on my right flank. I turned my gun to the north and deployed an infantry squad with it. Marine phase....P-Y rolled up a 3 and made a fast diagonal move towards the hedge and out of LOS of my gun. He crashed into the hedge. One more move and he would be very close to my table edge thus winning the game. My throw, finally the dice gods had favoured me....I threw a double phase. The ATG was wheeled about into LOS. I threw my second phase, a 4 with a 1, it was looking good. I got 2 net hits, driver killed, 2 phases to change, 2 shock. Time for the Tank Hunters, deployed on a 1. Went to the flank of the Sherman, staying out of the overwatch of the marine infantry, set the satchel charge. Three net hits, P-Y threw a 5, the tank blows up the Tank Hunters are killed....a true Bonzai charge! The Marine FM falls to 7, they withdraw. Finally a Japanese victory.

It was a short game, maybe around 90 minutes. I was happy to win finally.


Butcher's Bill

The post game calculations were quite easy as no men in the core platoons were lost on either side.

USMC

Final FM 7

2 down for next game (platoon 1)

CO +2
MO +6 (+2 on FM roll, Platoon Leader 12" CR)
Platoon Leaders Outlook Content

IJA

Final FM 9

0 dead for next game (platoon 2)
12 dead for next game (platoon 1)

CO +1
MO +1
Platoon Leaders Outlook Assured (+1 FM)

On to some terrific photos from the camera of P-Y....

Japanese Edge
Marine Edge
Stuart
Time to pull out a gun
The Sherman
Need to wheel the gun
So much for the Stuart
Time to get back into action
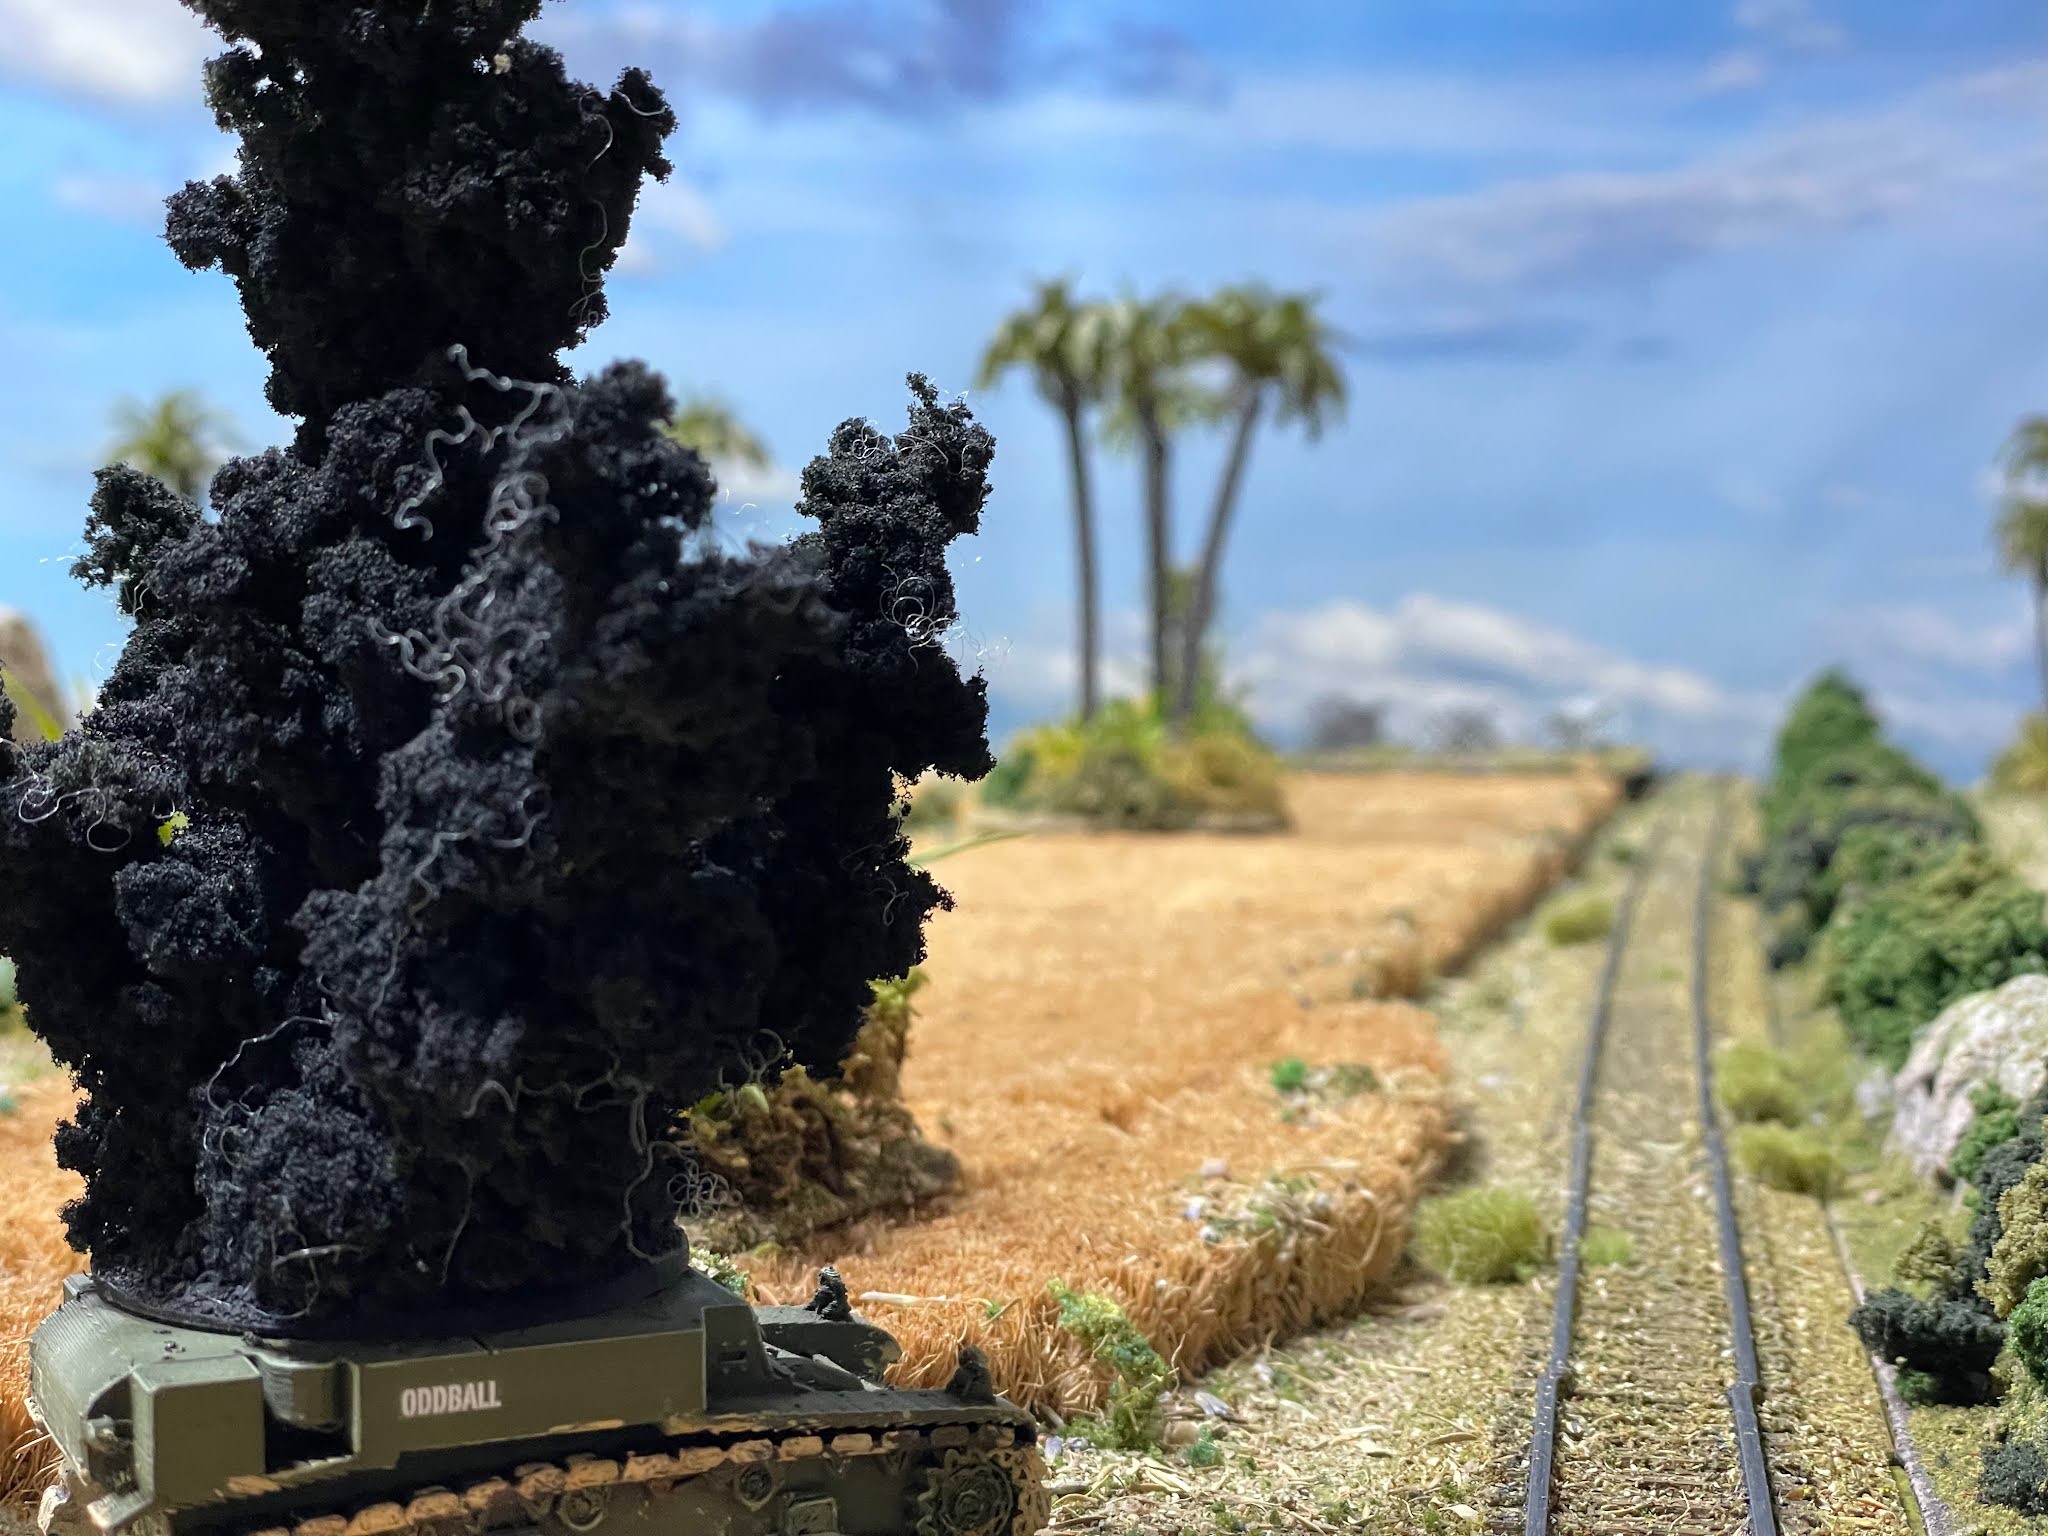
The Sherman goes up in smoke.


01 December 2021

Little Wars TV-Tombstone Tinderbox


Some months ago I bought this starter set from Little Wars TV, I had been playing some Old West games with my friend P-Y in a playtest of a soon hoped to be published new TFL ruleset. P-Y has a complete set up in 28mm with beautiful figures and some great terrain. We played quite a few games and we are just waiting now for the playtest to be complete and see the final version of the rules. I really have no intention of duplicating P-Y's efforts, I just have no more room here to expand into a different era especially in 28mm. Remember, I sold over three thousand 28mm Napoleonics to get a 15mm Napoleonic army which took up a lot less space.

But I have to say I was intrigued by everything being in one small box and I really believe Little Wars TV has done an enormous amount for wargaming in the US. I wanted to support their efforts. It was quite impressive what is in the box.
Set up for the shootout at the OK Corral

The Clantons


The Earps

Also included is a set of rules, dice, playing cards and a Tombstone campaign. The campaign is 3 tables and tracks the events of shootout between the Earps and the Clantons at the OK Coral and the subsequent chase through the Wild West. It looks like fun.

The 15mm figures are from Old Glory and I believe they represent various historical and fictional characters from Old West. I am not sure who is who, but I do recognise the "Man with No Name". The figures are nice enough and the cardboard buildings are sort of interesting. Would it be the path I would take, probably not......but I have to say it was a lot of fun putting it together and if I ever wanted to play a small game of "What a Cowboy", I could!

27 November 2021

Gung Ho-Radio Station (4)

This Wednesday, we played our fourth game in our Gung Ho campaign on Table 2 again. We had 5 players for this game, 4 from Finland and one from Seattle. We did straddle quite a few time zones.


USMC (FM 8)
2nd Marine Raider Battalion (missing 12 men)

Platoon #1
2 SL's
3 Raider Squads with Superior JL's and 9 men

Supports (9)
Raider squad (4)
extra BAR's (2)
Native Assistance (2)
Satchel Charge (1)

Japanese (FM 9)
62nd Garrison Force (missing 8 men)

1 SL
1 Inferior SL
3 LMG Buntai's with JL's
Knee Mortar Buntai with JL and 3x50mm Mortars

Supports (4)
MMG Team (3)
Barbed Wire (1)


THE GAME

Patrol Phase

We started off using P-Y's patrol ap, smaller dots represent the JOP's. I felt this went better for both sides then the last game. The raiders got a JOP on the north side of the road in this game, but interestingly enough the IJA's JOP on the northern edge was on the east side of the barbed wire, it was positioned so the IJA could deploy on either side.


The Action

The IJA had the first roll, but did not deploy. The raiders aggressively placed all 3 squads on the table in their first couple of phases. Their green squad with the extra BAR's went on the southern edge with the blue squad just north of them. They then placed their reserve squad (pink) on the northern edge of the table. They were carrying the Satchel charge with Sgt Eero in charge, the blue and green squads were under control by Lt Mikko.

The IJA countered by placing their blue squad with Sgt Petri (SL) with the MMG team on the western side of the barbed wire. 
This is what happens when you deploy a little too close to a MMG team and a IJA infantry squad. 
Sgt Eero has to deploy himself to start removing shock but as you can see the reserve squad took a pretty severe beating but a turn end allowed them to move out of LOS but it was clear that the Radio Tower was not going to be blown by this unit.
The IJA blue squad with Sgt Petri now moves north to join the main action leaving the MMG team to protect the IJA left flank.
All the action was on the the IJA right flank with 2 squads of raiders  rapidly advancing to the entrenched IJA. Here we had Lt Mikko controlling both squads with Corporal Will (a new player who just joined our campaign), he was given the IJA green and yellow squads with Lt Kaapo keeping control of the knee mortar squad. 
Here come the raiders......
....and as you can see the dice gods favoured the attackers, the IJA green squad was soon suffering significant loses, while the raiders held on and despite the support of the knee mortar squad using their rifles and sharing hits, the IJA FM dropped to 5. They decided to withdraw. An marine victory!


Butcher's Bill

USMC (platoon 1)

8 figures killed (adjusted FM)

Final FM 8
13 dead and 2 missing for next game

CO +4 (+1 support)
MO -2
Platoon Leaders Outlook Sociable (+1 FM)

IJA

14 figures, as well as a JL killed

Final FM 5
13 dead and 4 missing for next game, with a 1CI JL

CO killed, no further tracking.
MO -1
Platoon Leaders Outlook Merry


21 November 2021

Troops for "O" Group-Finally


After several months delay, mostly because I hate painting 6mm infantry figures, I have completed pretty solid Early War German and Soviet forces to play Eastern Front games using Dave Brown's "O" Group rules for battalion wargaming in WWII.

We played a couple of test games virtually using plastic bases in March and April of this year when the rules first came out. I was not sure about going with 6mm troops but I really felt my 20mm WWII were out of scale for this game. I have a lot of AFV's in 6mm which were left over from my Rommel project so I thought why not. I am also having a lot of storage and transport issues and I really needed to decrease my wargaming footprint in our house (interestingly enough, all my 6mm stuff as well as some 28mm skirmish gaming figures and terrain for the FIW, Napoleonic's and SAGA will be taking a trip to Montreal to establish permanent residence in my apartment there). 

I also decided to play the game in centimetres rather than inches so I have put together quite a bit of terrain for this project. In retrospect, I might of gone with 10mm or 12 mm figures but now I am done, I believe I probably made the correct choice. But I have to say I got no pleasure out of painting these 6mm infantry. Now have to think whether I am going to add a Early War Western European force due to the release of the new source book for this theatre. 

Does not look like much but it took quite a bit of work and organization. I am playing on a 100x60cm mat, which I suspect will be fine. The Soviet vehicles are all resin 3D printed as are some of the German vehicles but most are metal from various manufacturers. The infantry and the guns are all from Heroics and Ros, the guns are OK but the figures themselves were not that great with a lot of flash, MicroArmor are much better. The bases are all metal and variably sized, but the infantry bases are 20x14mm. I had planned to go with a 1:1 scale but the infantry base had to fit with my plan to game in centimetres, so each squad (base) is around 1:2 scale with 4-5 figures per base.

Soviet OB
HQ Base
FO Base
4 Artillery Supports
3 Company Commanders-A,B,C
Company A-9 bases
Company B-9 bases
Company C-9 bases
3x Maxim sections
2x 45mm ATG section
2x 76mm IG sections
2x 57mm ATG sections
14x Gaz trucks
3x M3A1 Scout cars
2x T34 platoons
2x T26 platoons
2x T60 platoons
T70 platoon
2x BA10 platoons
SU76 platoon

German OB
HQ Base
FO Base
4 Artillery Supports
3 Company Commanders-A,B,C
Company A-9 bases
Company B-9 bases
Company C-9 bases
3x MMG sections
2x Panzerschrek sections
60mm Mortar section
2x Pak36 ATG section
2x IG18 sections
2x Pak38 ATG sections
12x Opel trucks
PzIV B platoon
PzIV F platoon
2x PzIII platoons
2x  PzII platoons
Pz38 platoon
Sdkfz 222 platoon
Sdkfz 232 platoon
Sdkfz 234 platoon

I appreciate some of the weapons listed above were not available in the EW Eastern Front.

For transport, I use a Chessex troop box which can easily carry 2 complete battalions with all the extras with lots of space to spare. Each army his adhered to a magnetic sheet. I suspect that I might be actually able to fit a 3rd layer in the box.......will it be French or Dutch!

It is funny to think that this blog started off documenting my progress painting 28mm Napoleonic figures and now it is almost completely devoted to Action Reports but I do have several nearly finished painting projects on the painting table which I hope to photograph before the end of the year.

20 November 2021

Saipan-Radio Saipan (4)

This Monday, we had our 5th turn in the Saipan campaign, but only the 4th turn on the campaign clock. This was the "Attack on an Objective" scenario from the main rulebook. Essentially same set up as game 3 but there are a lot of entrenchments on the table left over from the 2 previous games on this table. The game was going to have been won or lost depending on morale failure or withdrawal.

I felt I did OK on the Patrol Phase, and was happy to get a JOP in the Jungle on the northern edge. Probably did not place the the 4th JOP in the Radio Station building as well as I could but I was worried about the Marine JOP in the house in the south.


USMC (FM 11) (+4 on FM roll)
6th Marine Regiment

Type F USMC Platoon #1 (3 men missing)

2SL
3 Infantry Squads with Sup JL and 12 men

Supports (9)

M4A2 Sherman (7)
Pregame Barrage (2)

Japanese (FM 9) (+2 on FM roll)
136th Infantry Regiment

Type B Infantry Platoon #1 (8 men missing)

2 SL
3 Infantry Sections with Jl and 12 men
Grenadier Section with JL and 12 men and 3 50mm Mortars

Bunker
Entrenchment 

Supports (6)

Entrenchemt  (1)
Tank Hunter Team (2)
Type 94 ATG (3)

So on to the game:

I felt I had a good plan for this game. I had a JOP in the jungle on the northern edge of the board to counter the Marines, suspecting that they would launch their attack from their JOP in the jungle. I suspected that P-Y would take a tank so I took an ATG and a Tank Hunter team, as I found in the last couple of games that it can be hard to get a shot off with the ATG especially as it was in the bunker.

I put my bunker just south of the Radio Station but this time I had taken an ATG with a shield to increase my options on placement. The game started, P-Y rolled a double phase! This made it possible that he could overrun my northern JOP before the game started. He placed a squad in the jungle, but on his 2nd roll did not have the ability to take the JOP. With some relief, I rolled my dice, a 2 and two 3's. perfect. Then I found out that P-Y had taken a pregame barrage. 

What started then was a series of some of the worst die rolling in the history of tabletop wargaming. On my 3rd attempt, after wasting the 1st two rolls, I was able to place an infantry squad on OW in an entrenchment to protect the JOP. P-Y then placed his Sherman on the table and advanced through the northern jungle, it looked like my entrenched team was going to get some fire from both the Marine squad in the jungle as well as the advancing Sherman. P-Y also placed his 2nd squad in the pre-existing entrenchment in the field on the western edge of the board. I foolishly placed my ATG on top of the building, it gave me excellent vantage but no ability to withdraw when it started to suffer attrition. I also placed my Knee Mortar squad on the 2nd floor of the Radio Station.

Things were not going too badly but both my hit dice and save dice were failing me and I was not getting any double phases. The Sherman advanced east, and the highlight of the game for me was my ambush on the Sherman with my Tank Hunter team, they scored 3 hits with the Sherman just having 1 save---2 net hits, P-Y rolled a 5, the tank was immobilised, but maybe not the best result as it could still fire HE and it's 2 MG's. My 1st squad in the entrenchment was driven back and I was unable to get a 2nd squad to replace it quickly because of the PGB.

My FM was falling, and despite sending out smoke to protect my units in the radio station, they were suffering significant attrition. My dicing remained terrible, every time P-Y got a kill, I would roll a 1 on the leader hit, I would then roll a 6 on the BTH table. Before I knew it, my FM was down to 3, I gamed on to no avail. FM 0, game over...on to Table 4.


Butcher's Bill

The post game calculations were a little odd, as unlike the game I had great dicing and P-Y had poor dicing so the actual benefit was to the IJA.

USMC

Final FM 8
7 figures killed

Resolved per FM difference (2 down for next game)

CO +3 (+1 support)
MO +5 (+1 on FM roll)
Platoon Leaders Outlook Happy

IJA

Final FM 0
10 figures killed
 
5 killed + 3 missing (10 down next game)

CO -1
MO 0
Platoon Leaders Outlook Secure

On to some terrific photos from the camera of P-Y....
Was not a good idea

The Sherman

For the Emperor

Tank Hunters


Kill those tank hunters

Yes...it was a bad idea

safe in an entrenchment 

Immobilised but still firing

Keep Fighting!

Not a whole lot of value